• Skip to primary navigation
  • Skip to main content

Marc Nischan

  • Home
  • Music
  • Art
    • Giveaway
  • Trailertrashed ’65 Comanche

Blog

Game on

April 21, 2024 by marcnischan

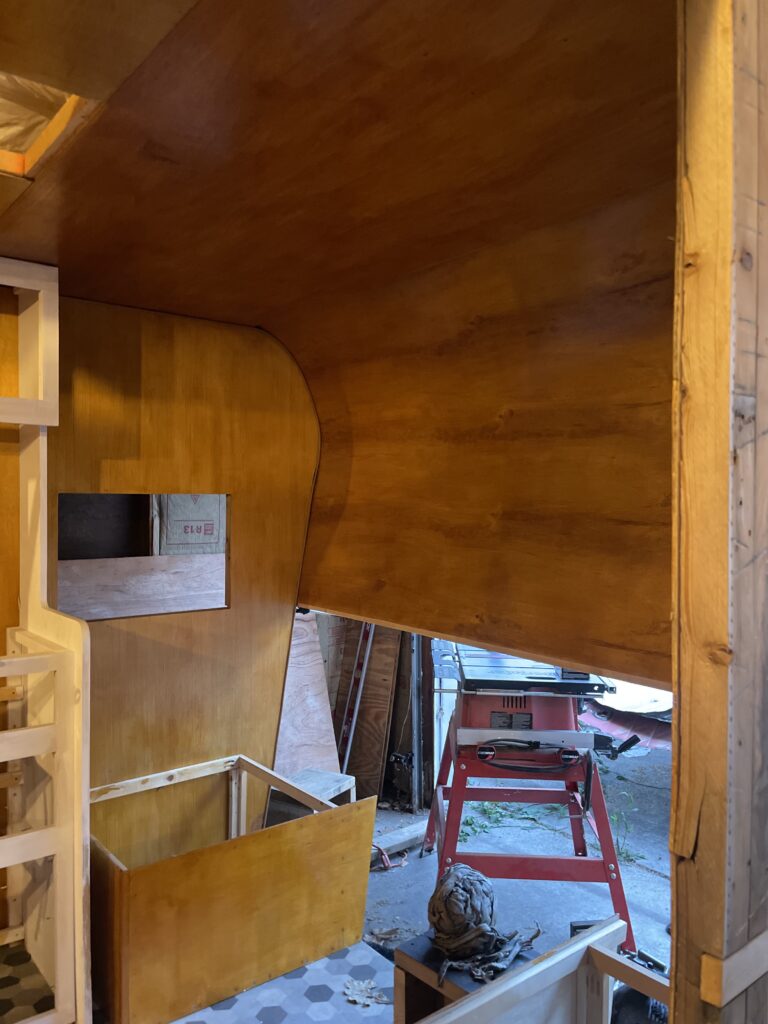
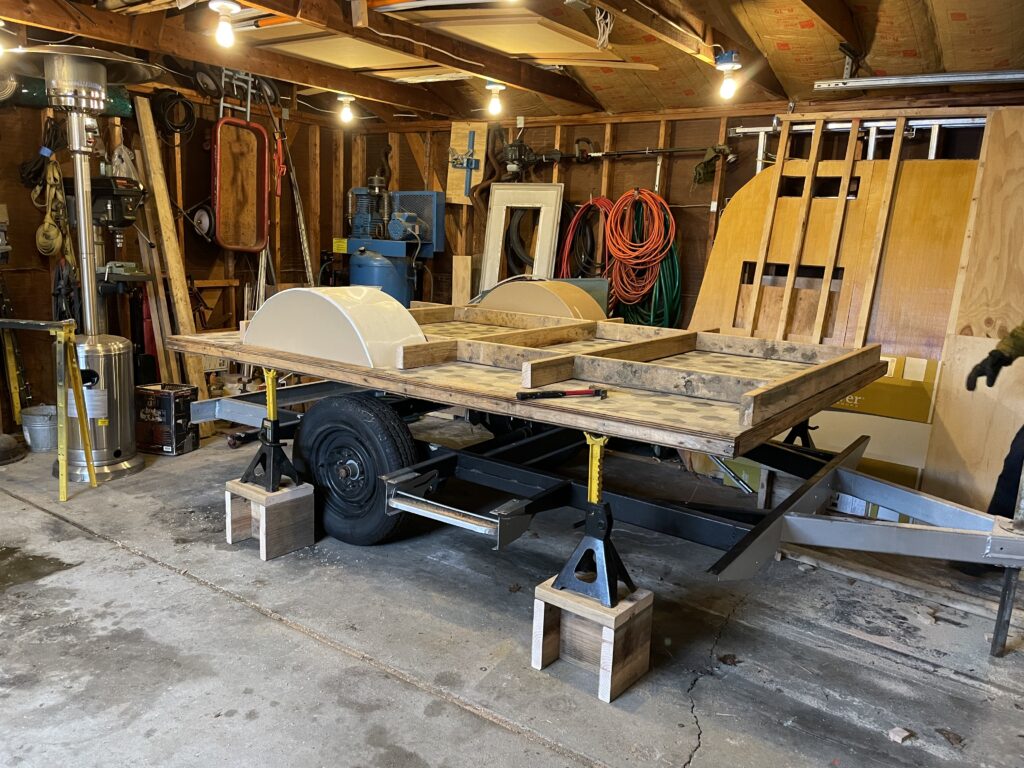
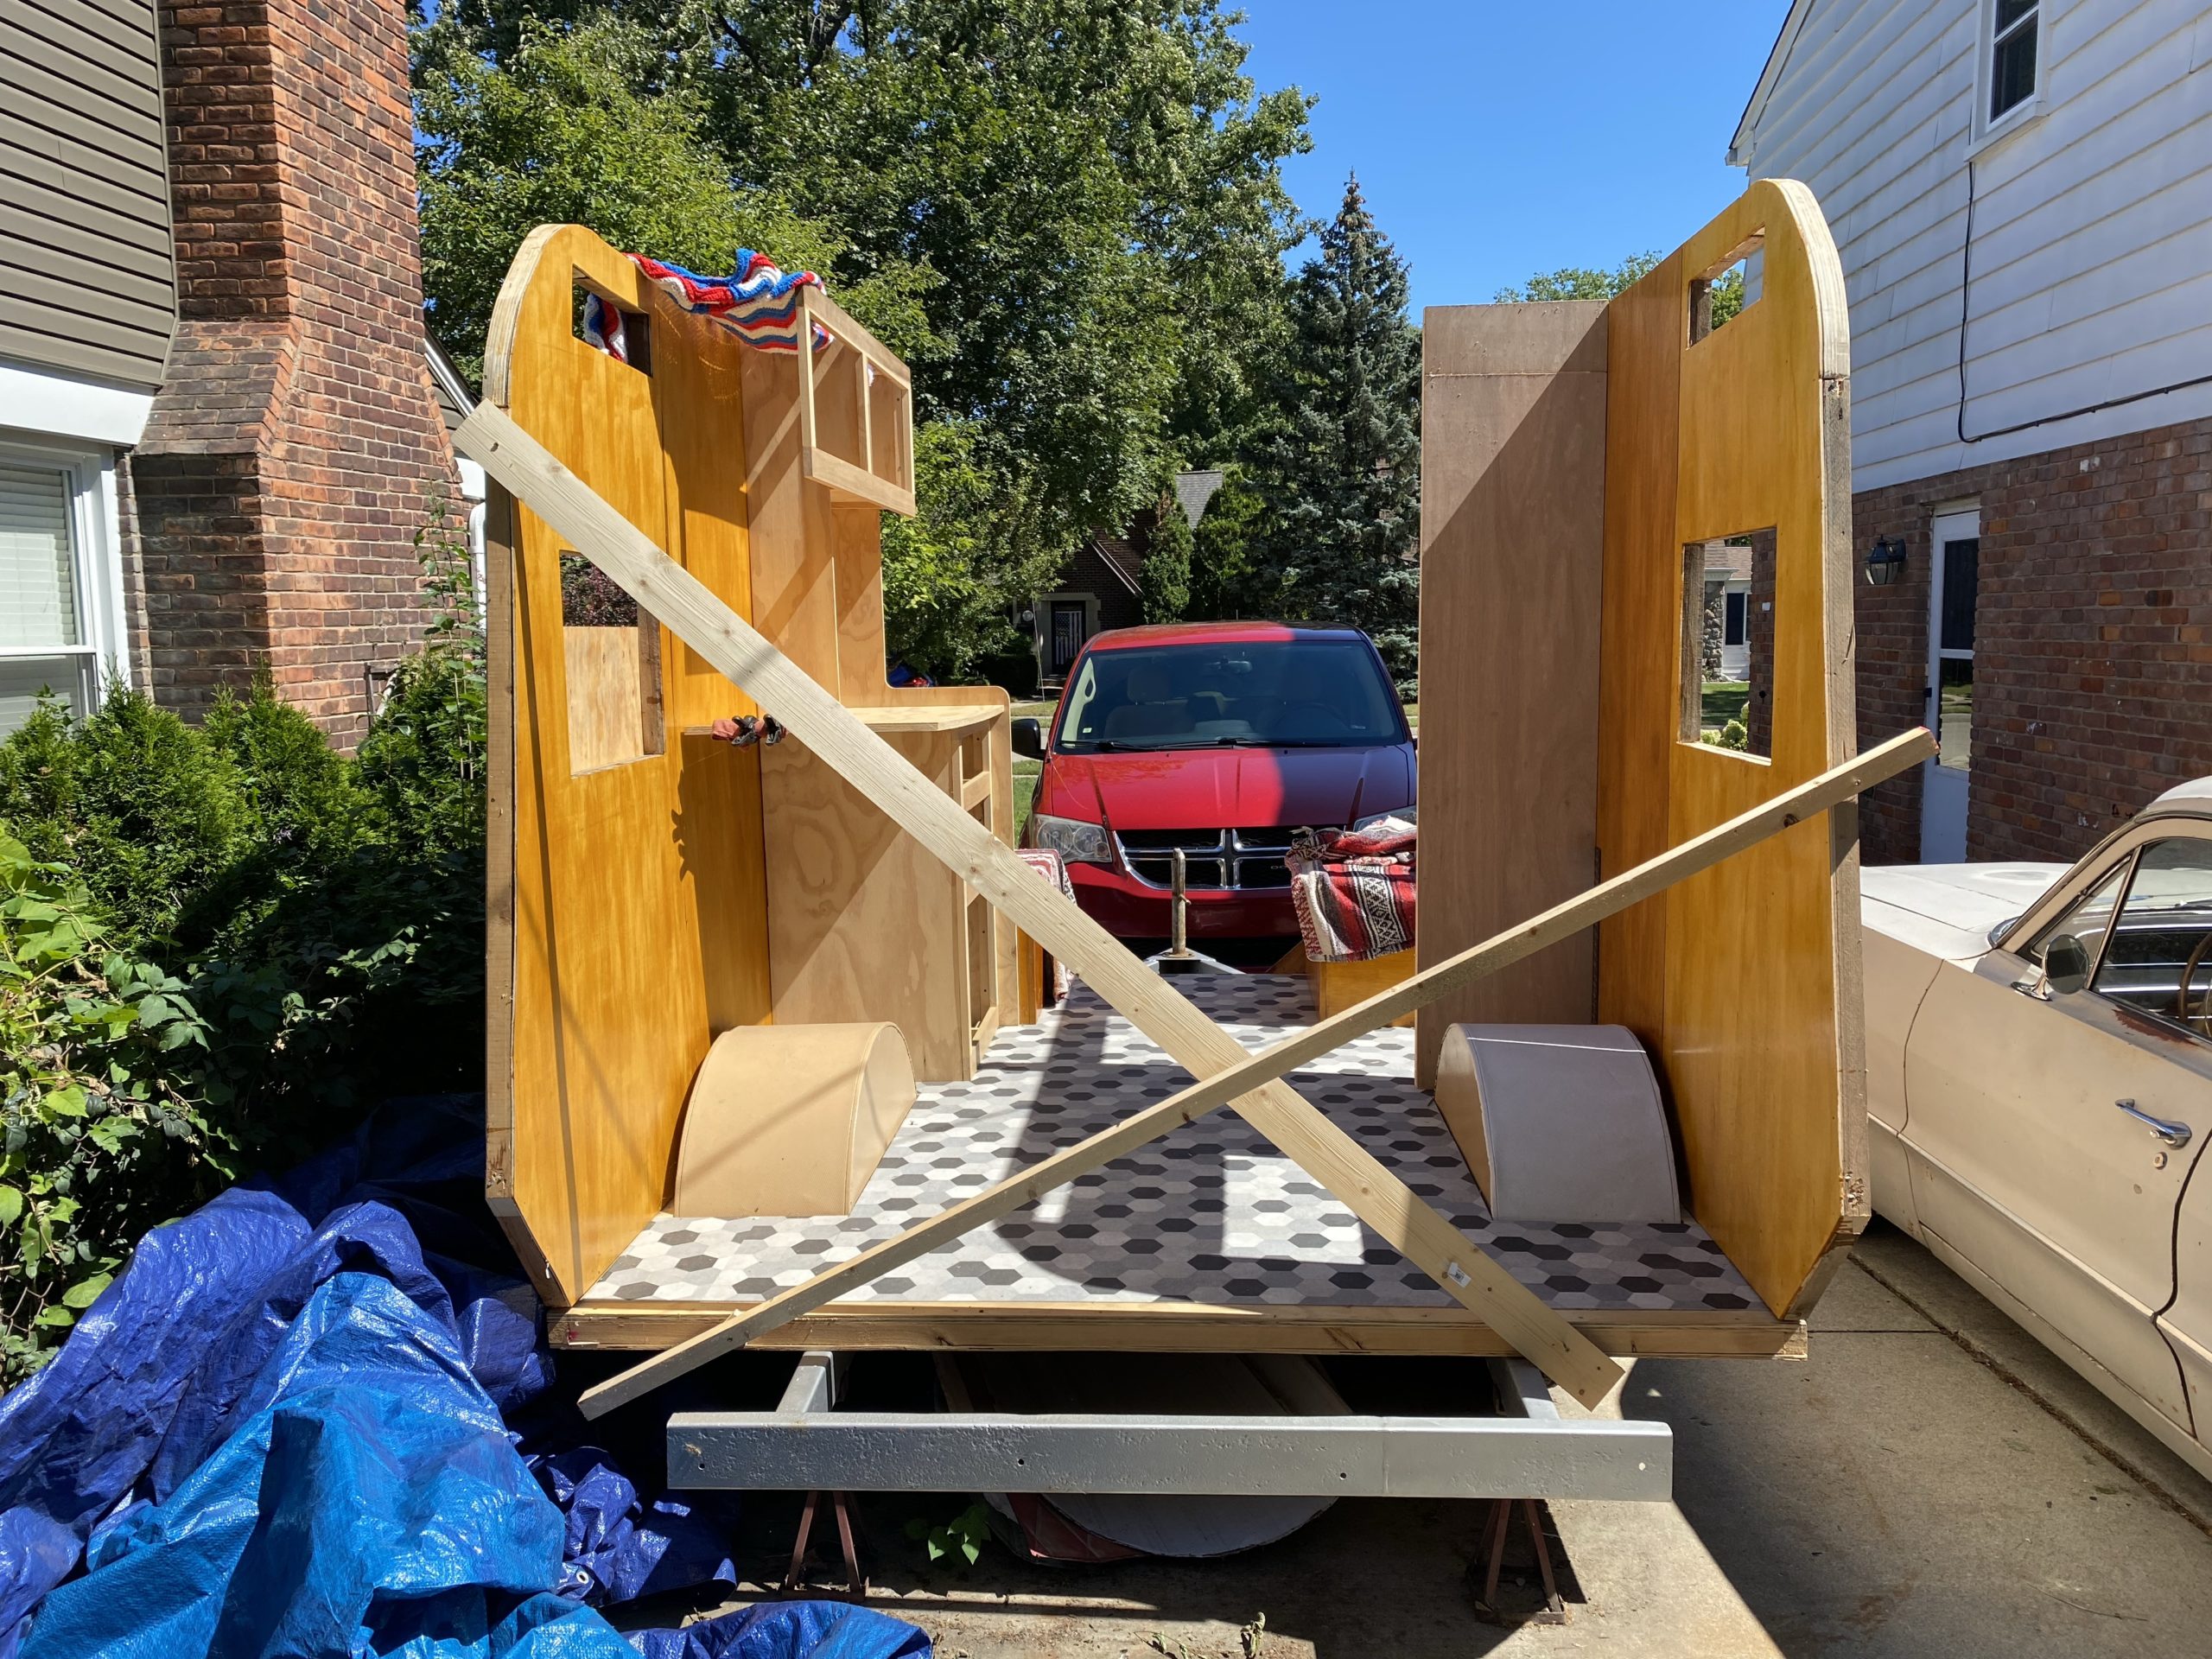
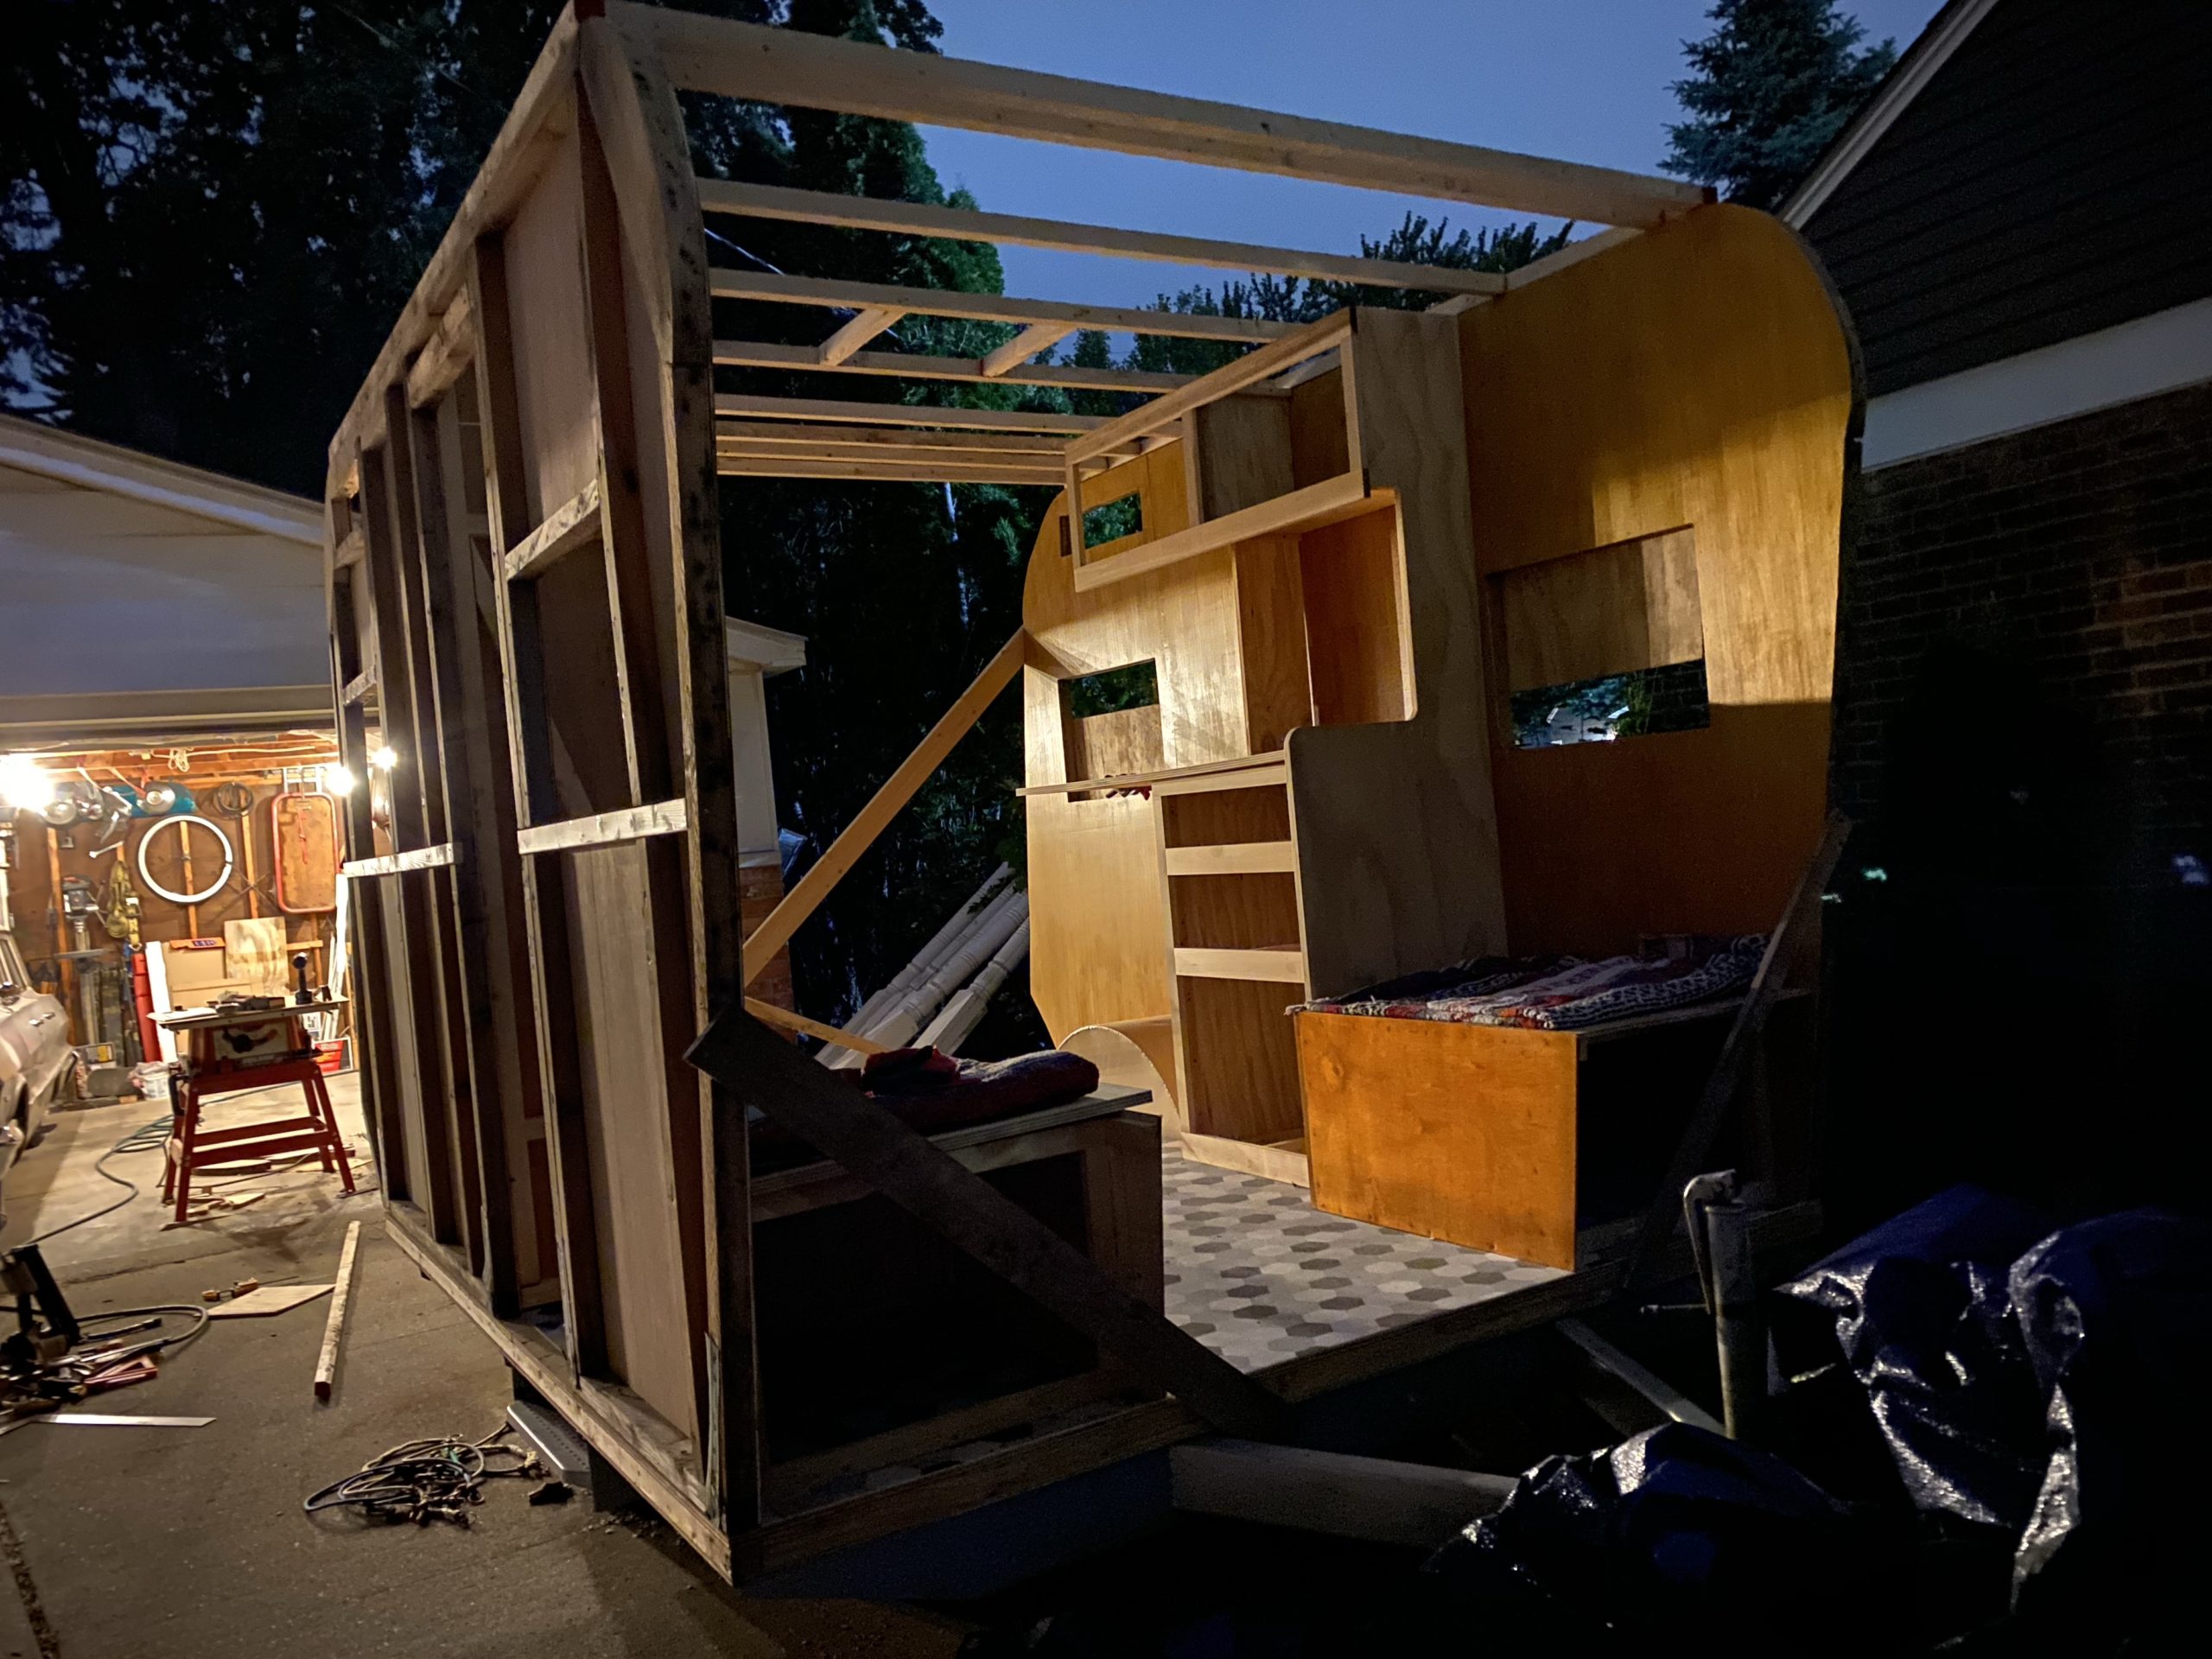
I had to paint the kitchenette with Kilz because it had gotten some mold spotting on it. What a drag to paint over all that gorgeous poplar and birch ply, but I couldn’t spend the time and money to rebuild it. I got it set and attached the street side wall, set the dinette seats, set the curb side wall, and the lateral support wall for it.

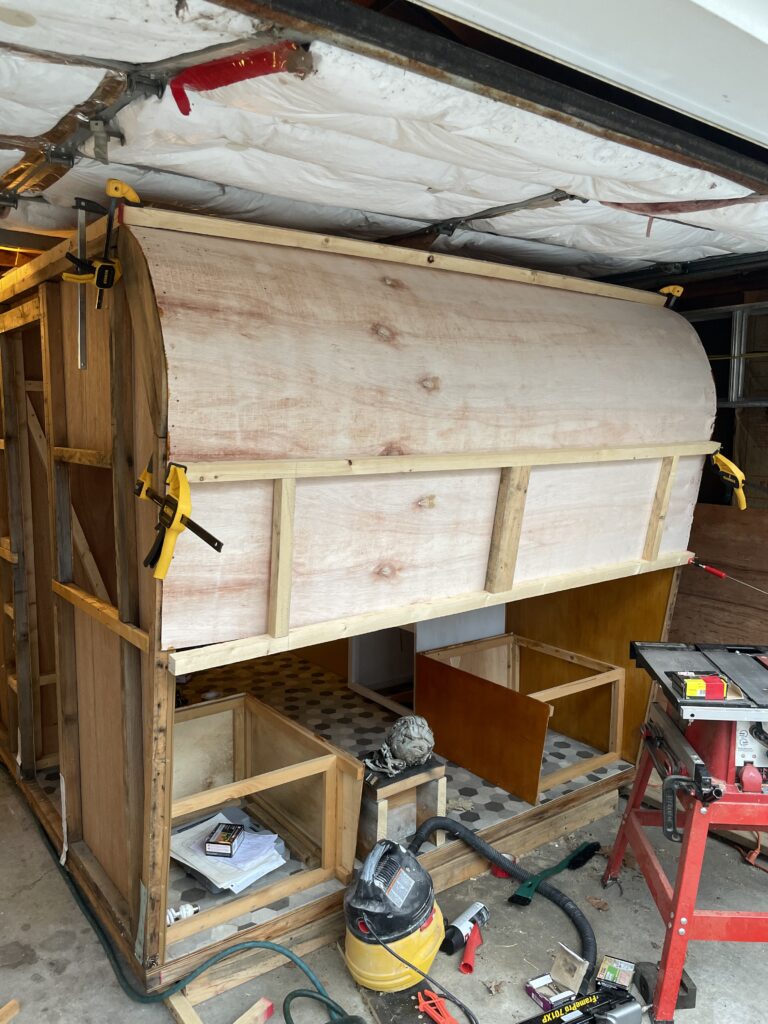
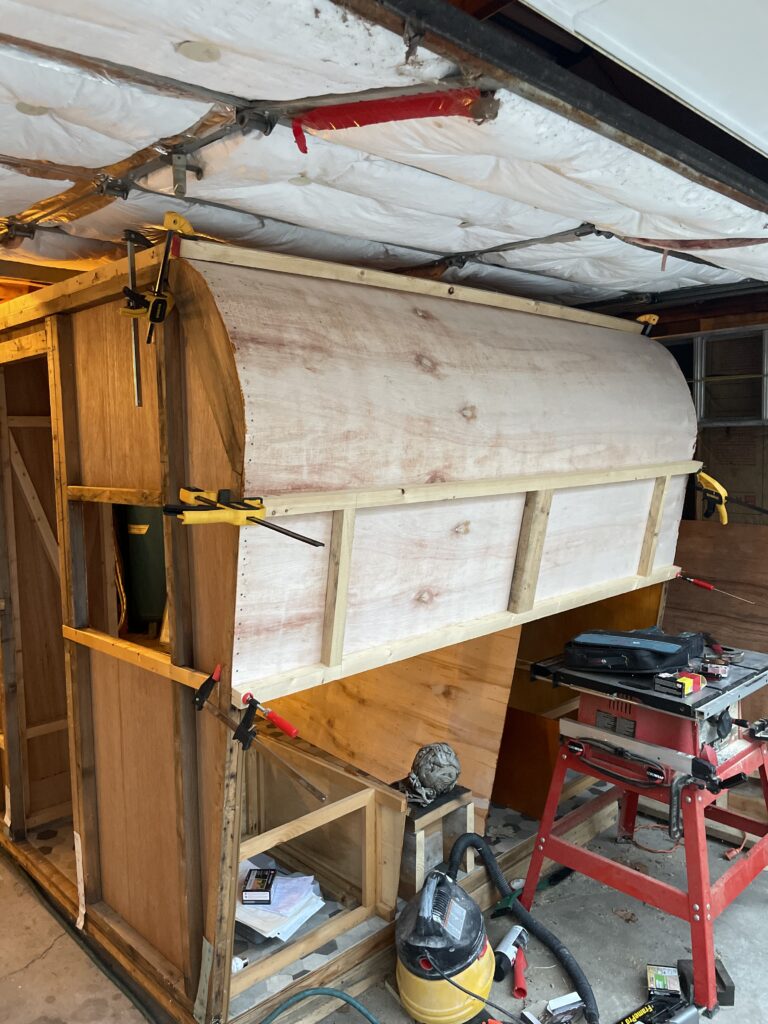
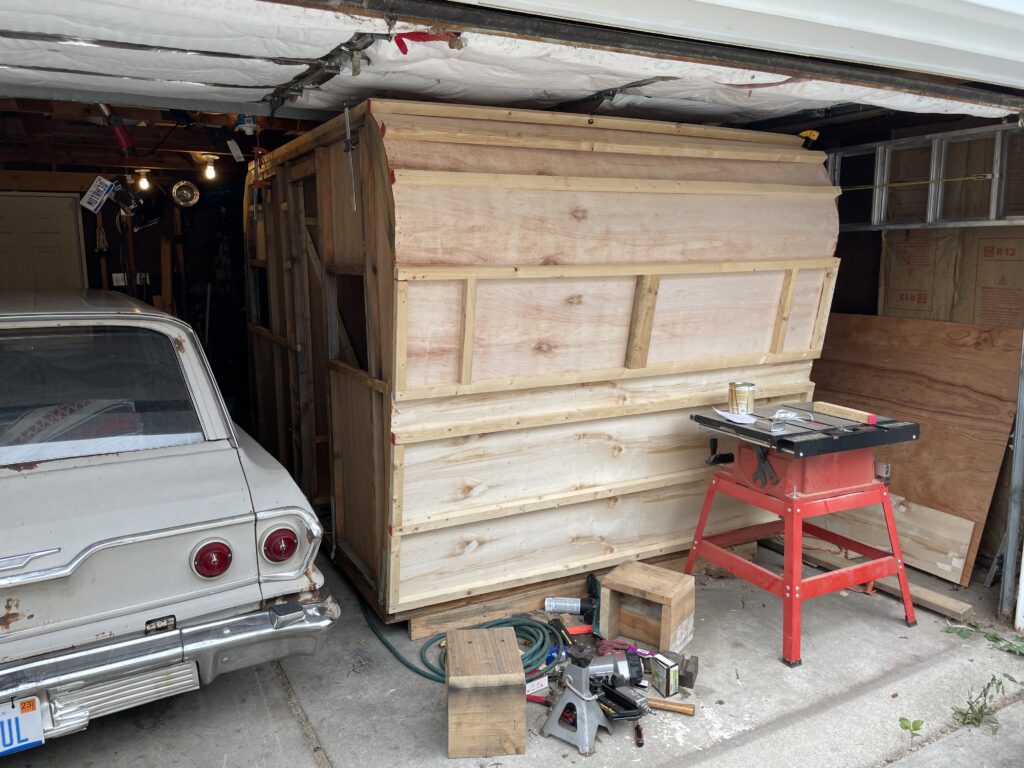
I stained the luan for the roof, skinned it, and trimmed it with the router. Once the roof was set, it started to look like a trailer again. I stained a piece of luan for the front wall, and was excited to hit the next milestone of enclosing another side. What an ordeal this turned out to be.

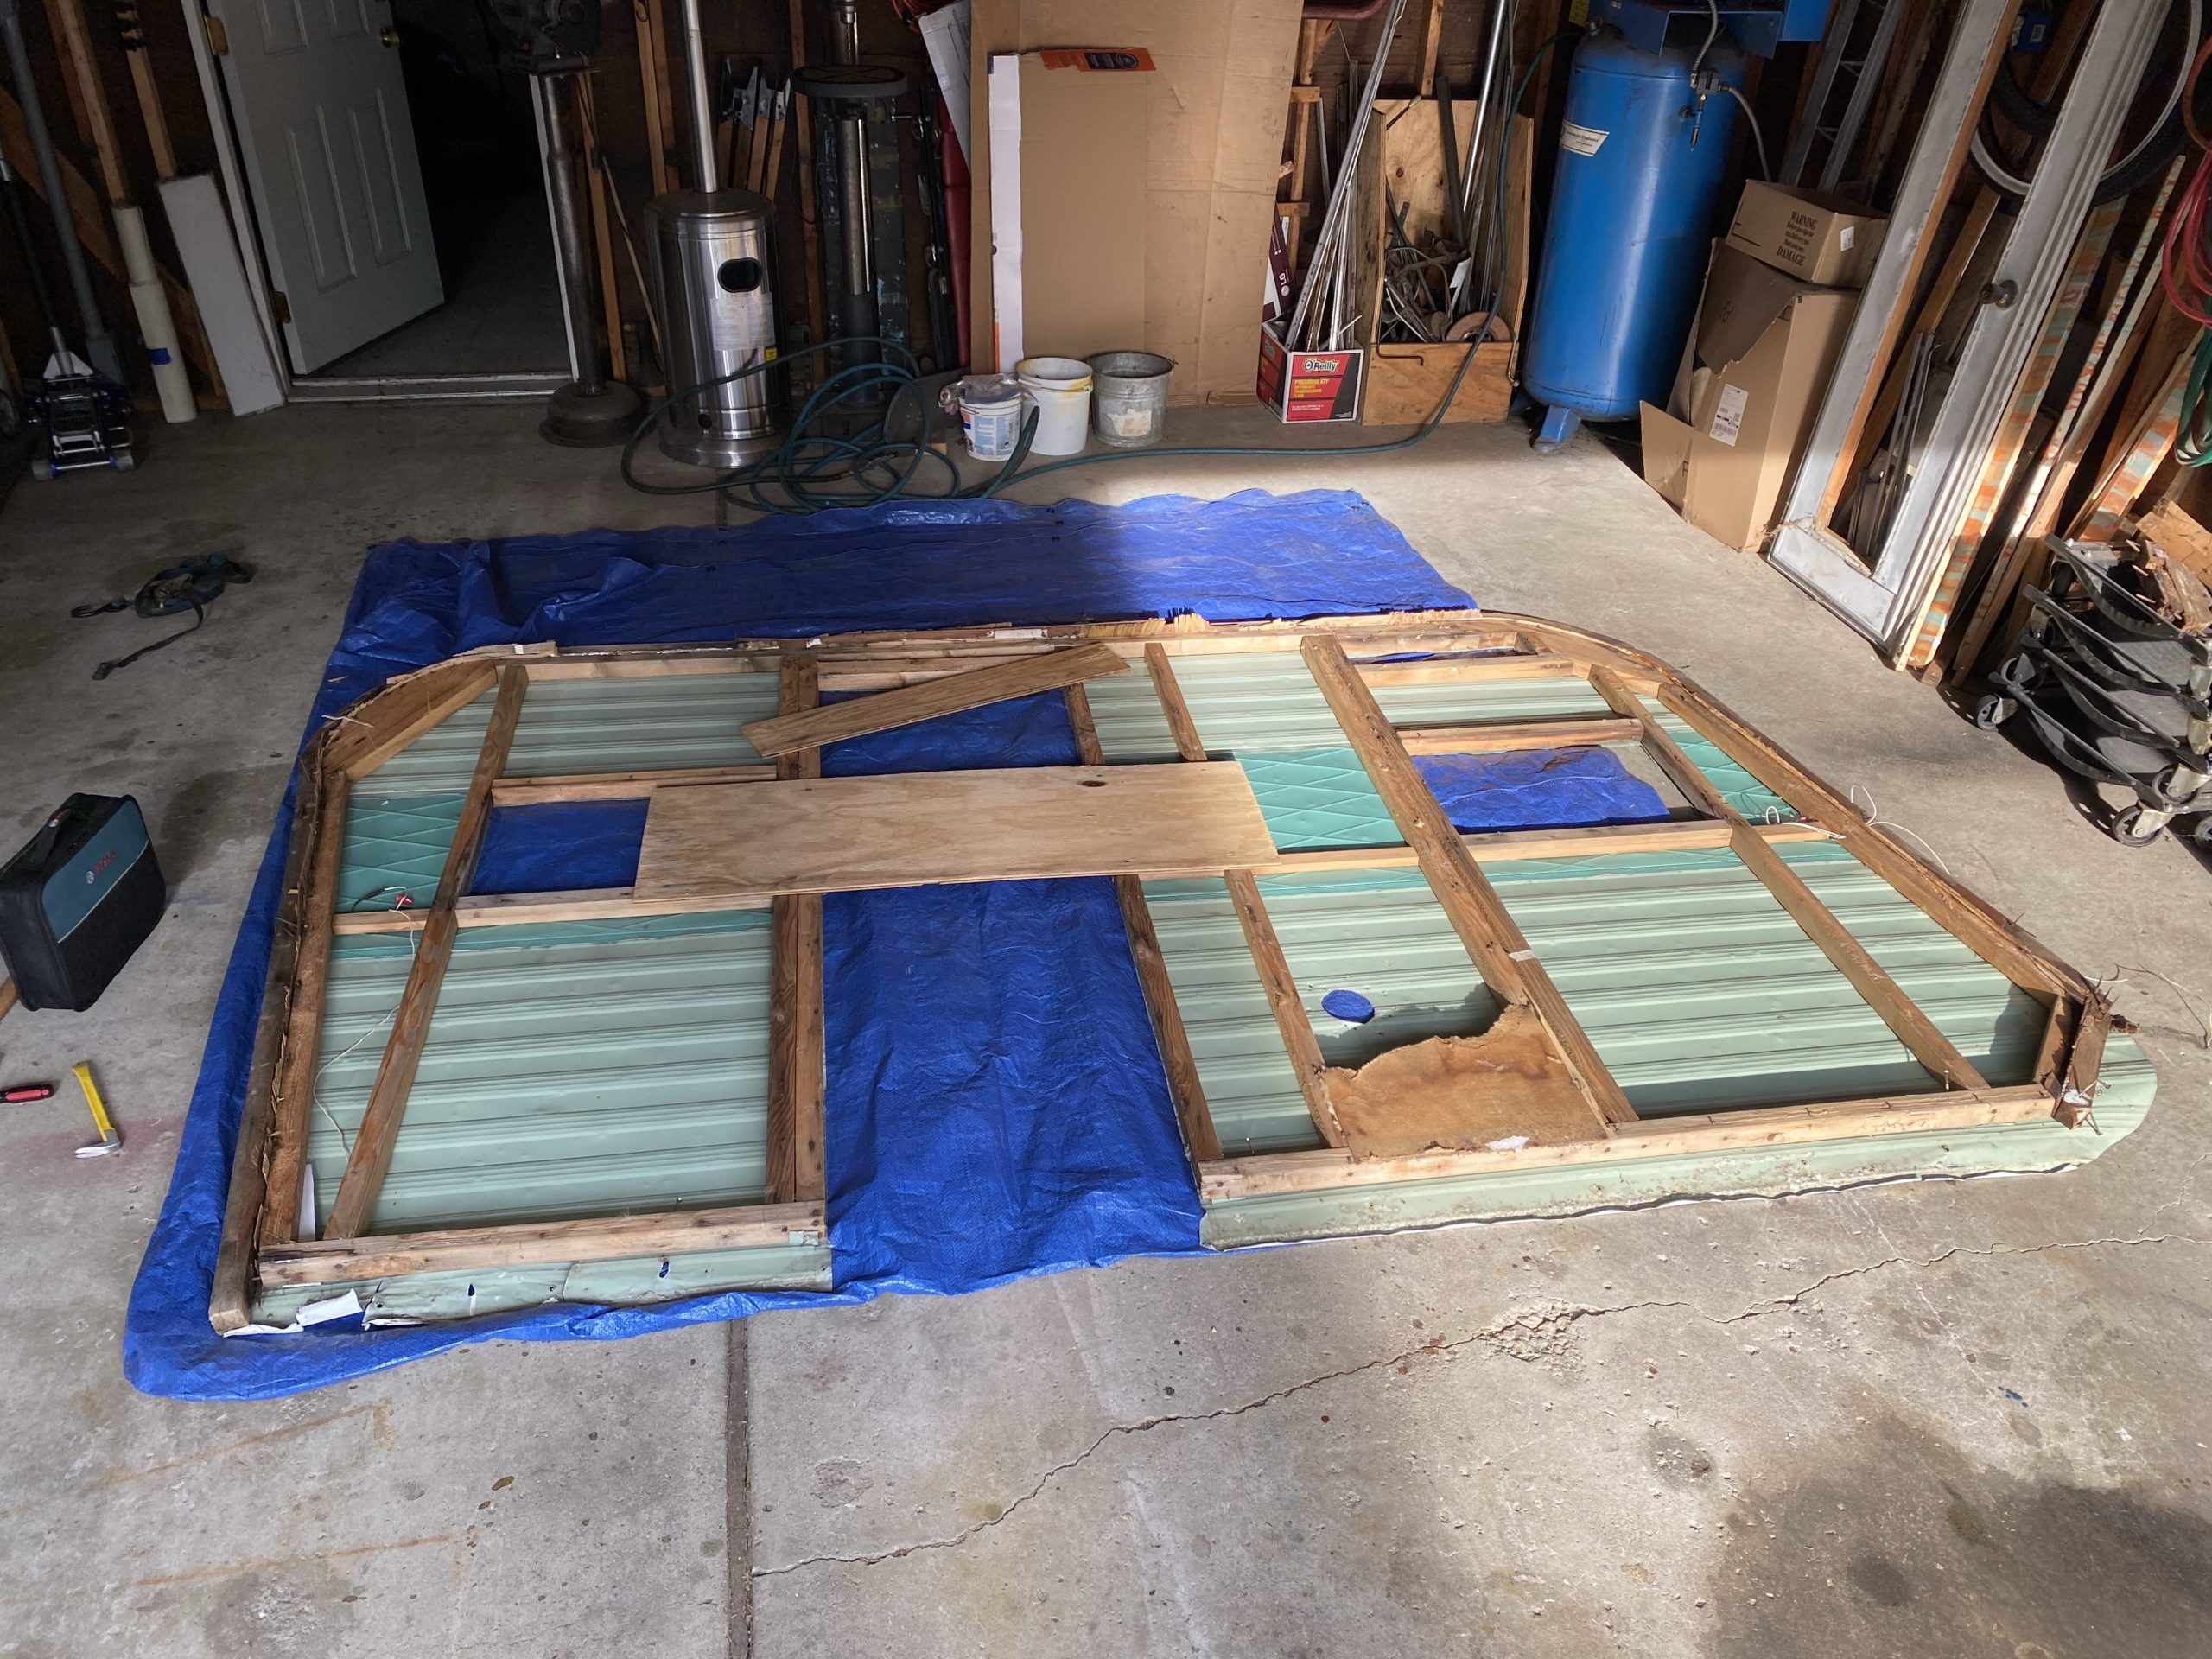
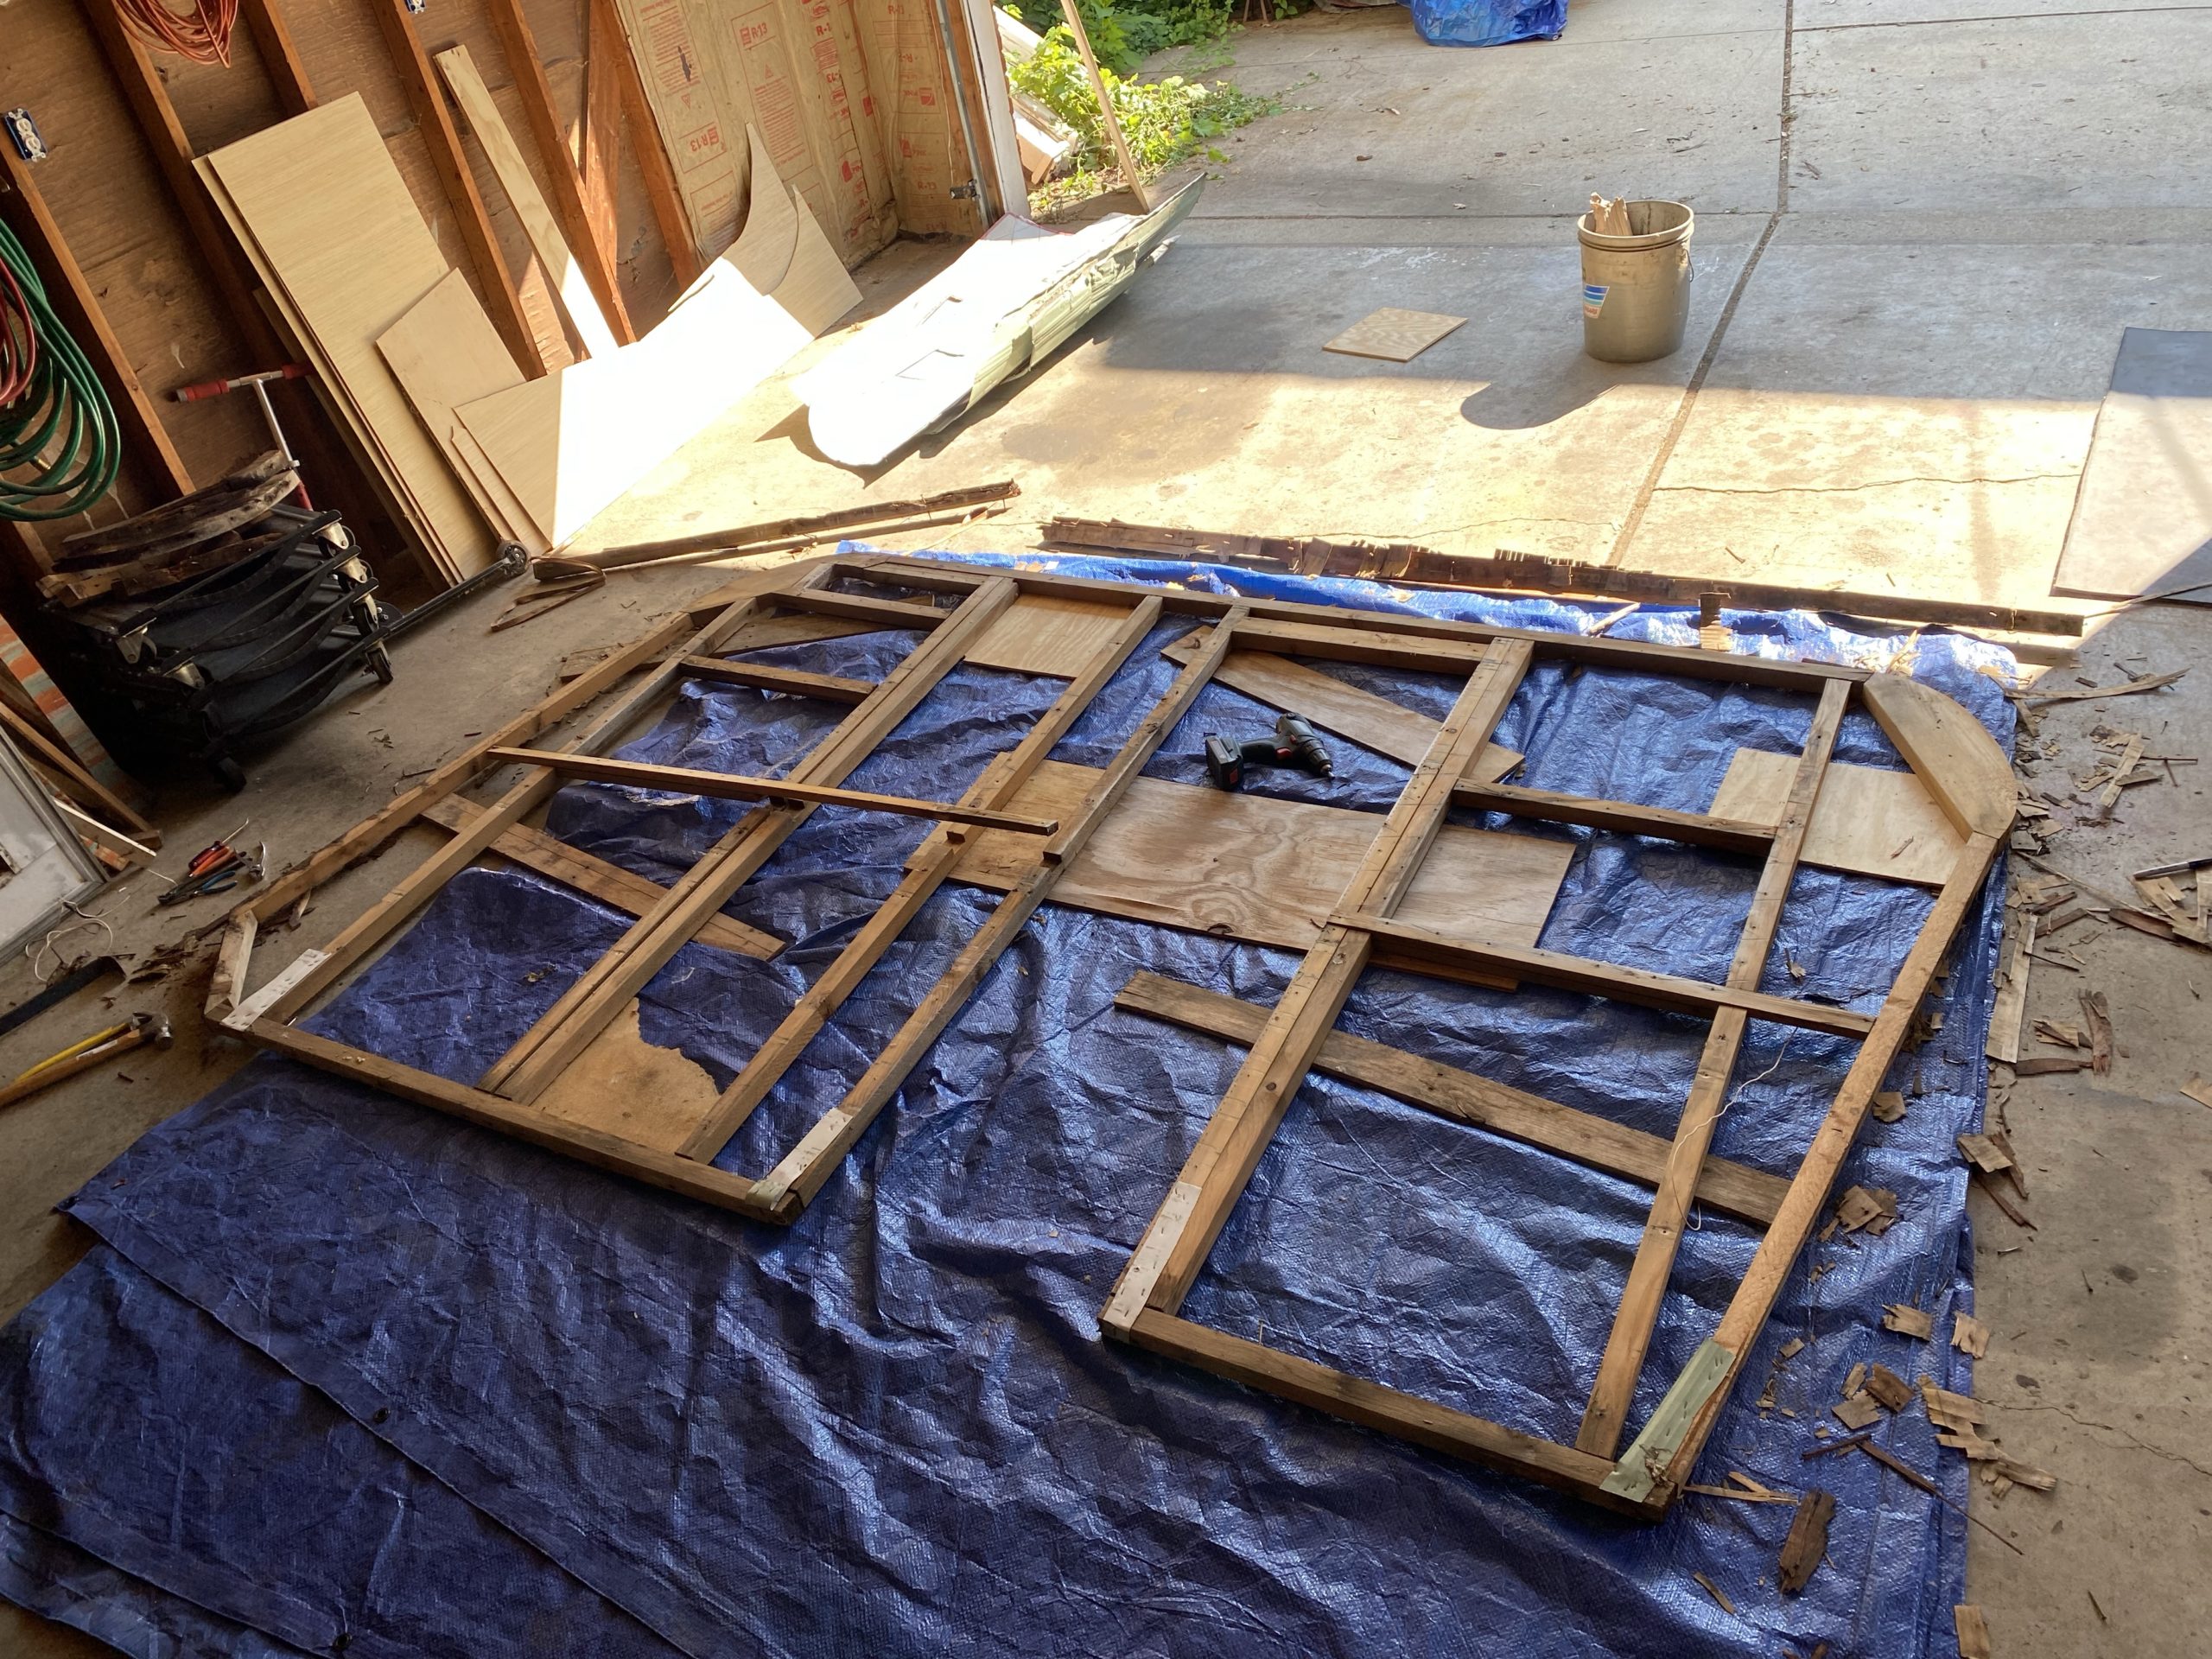
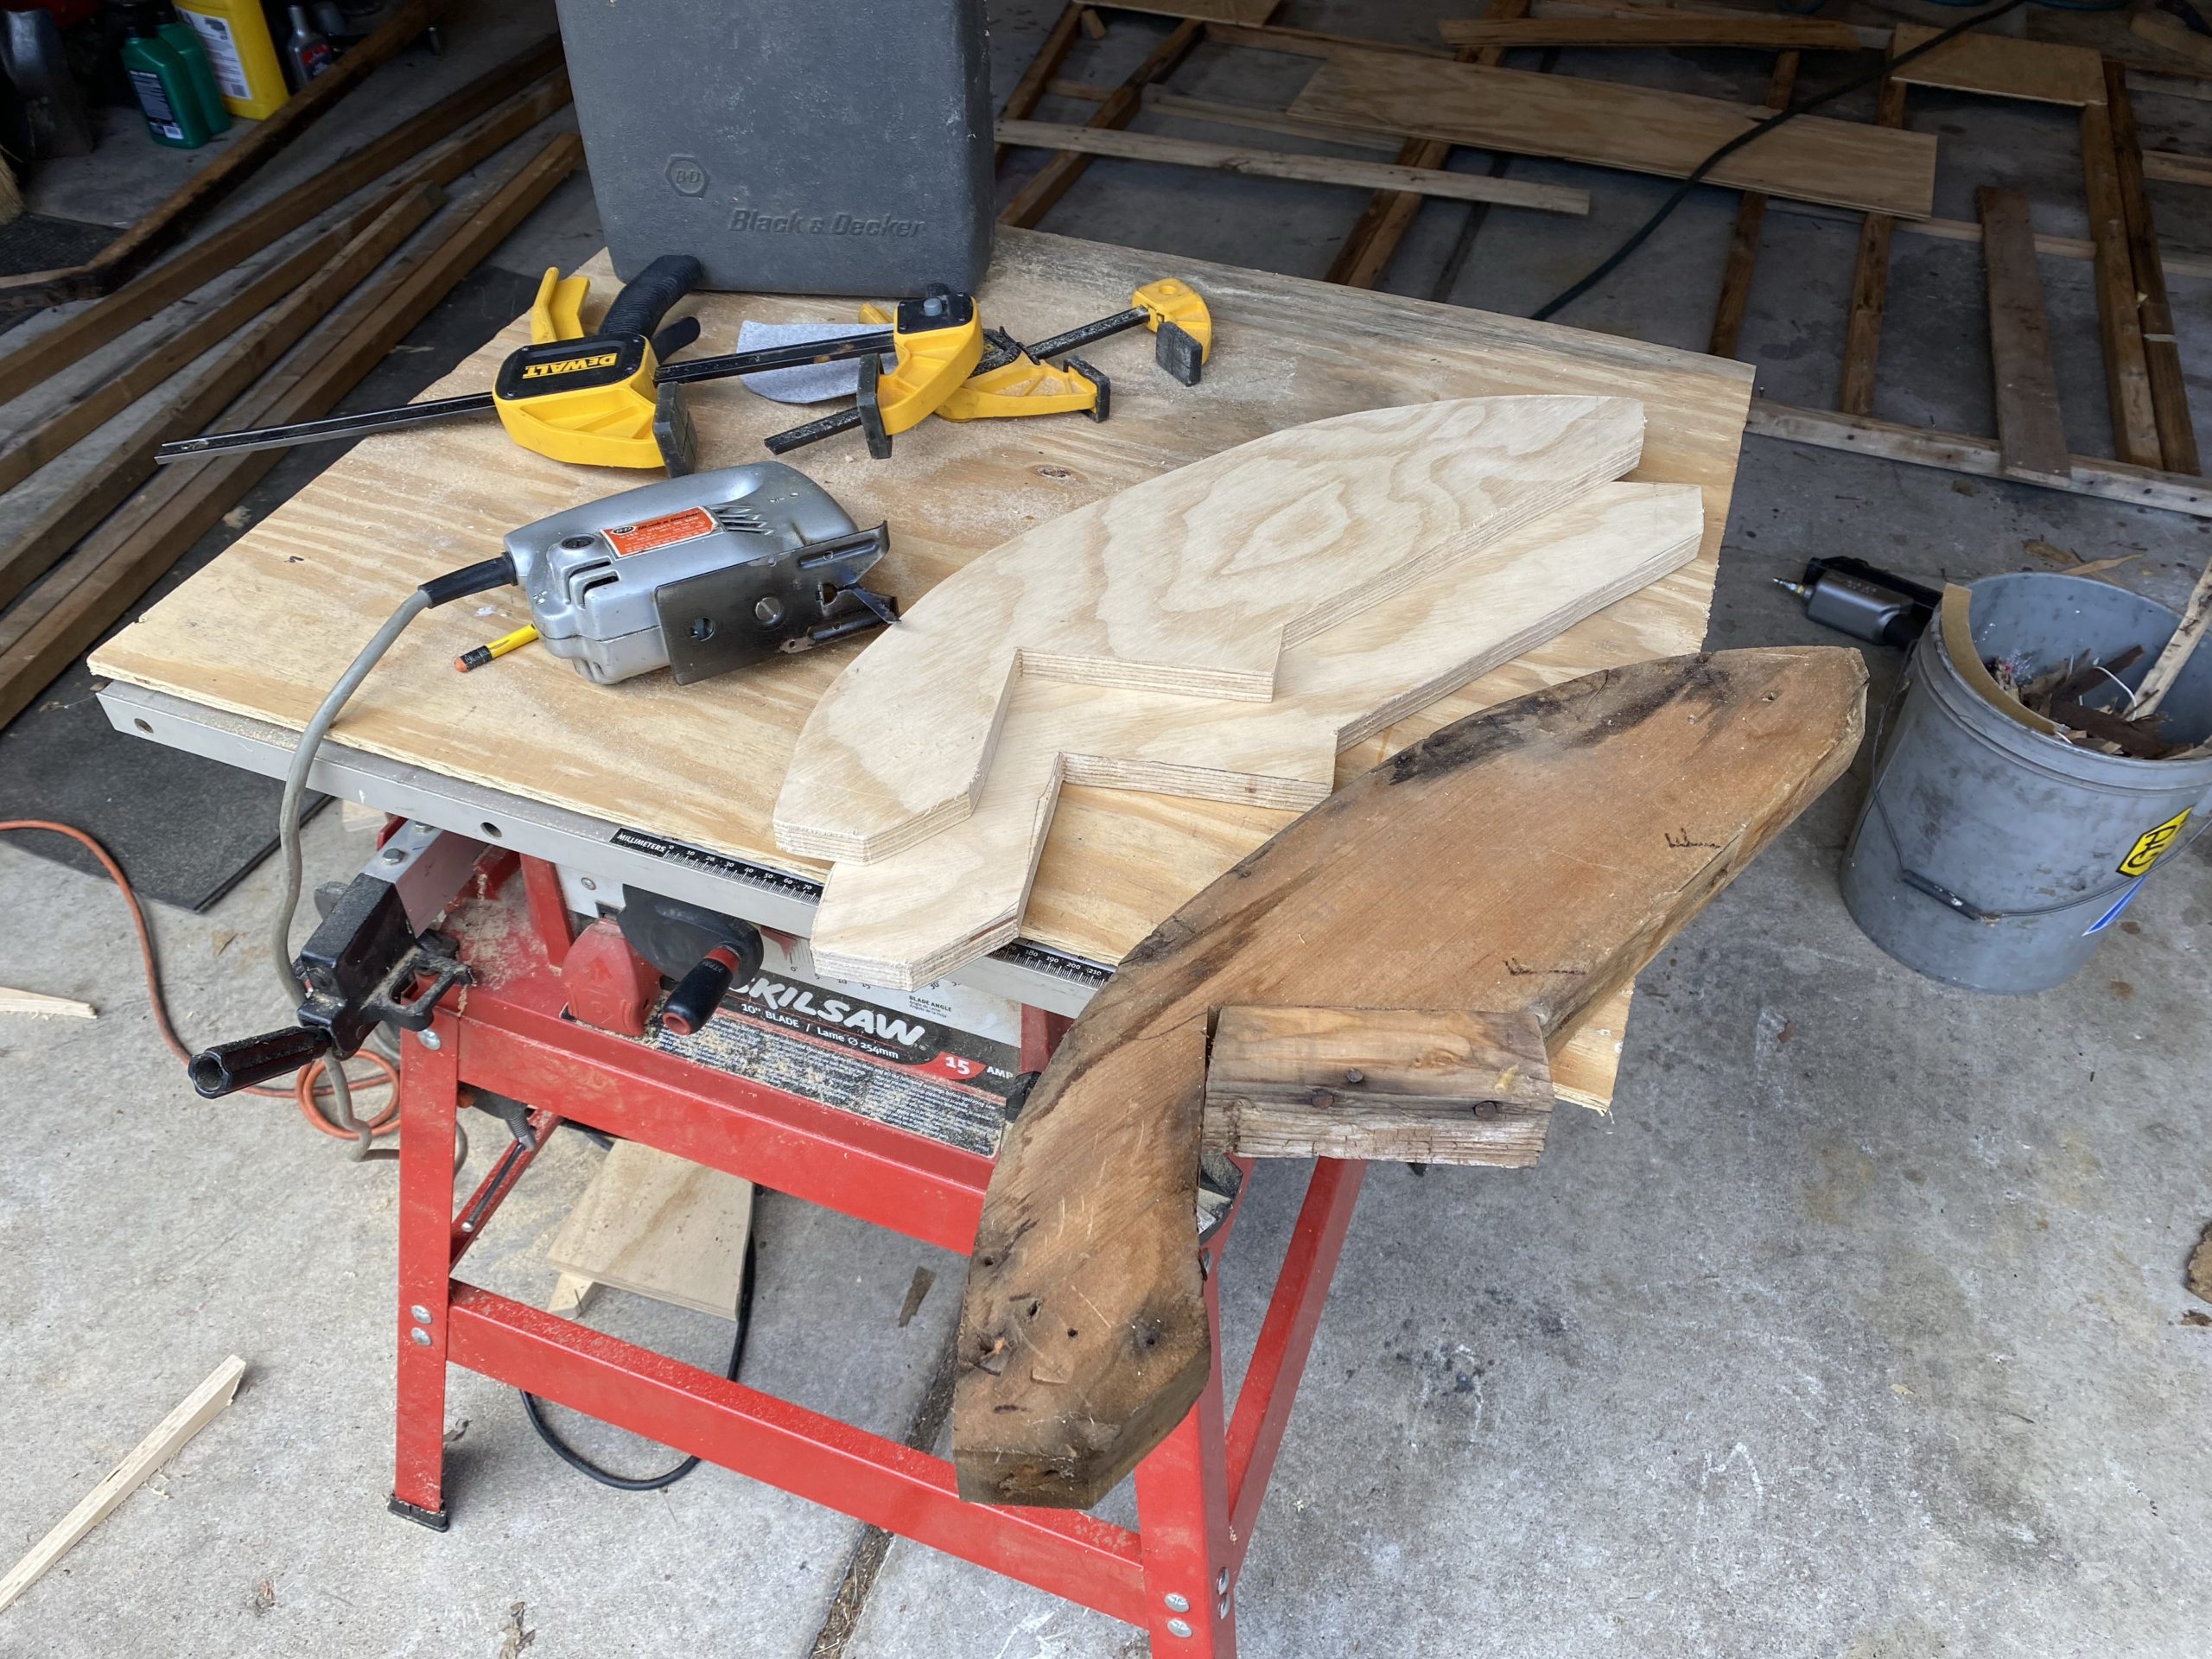
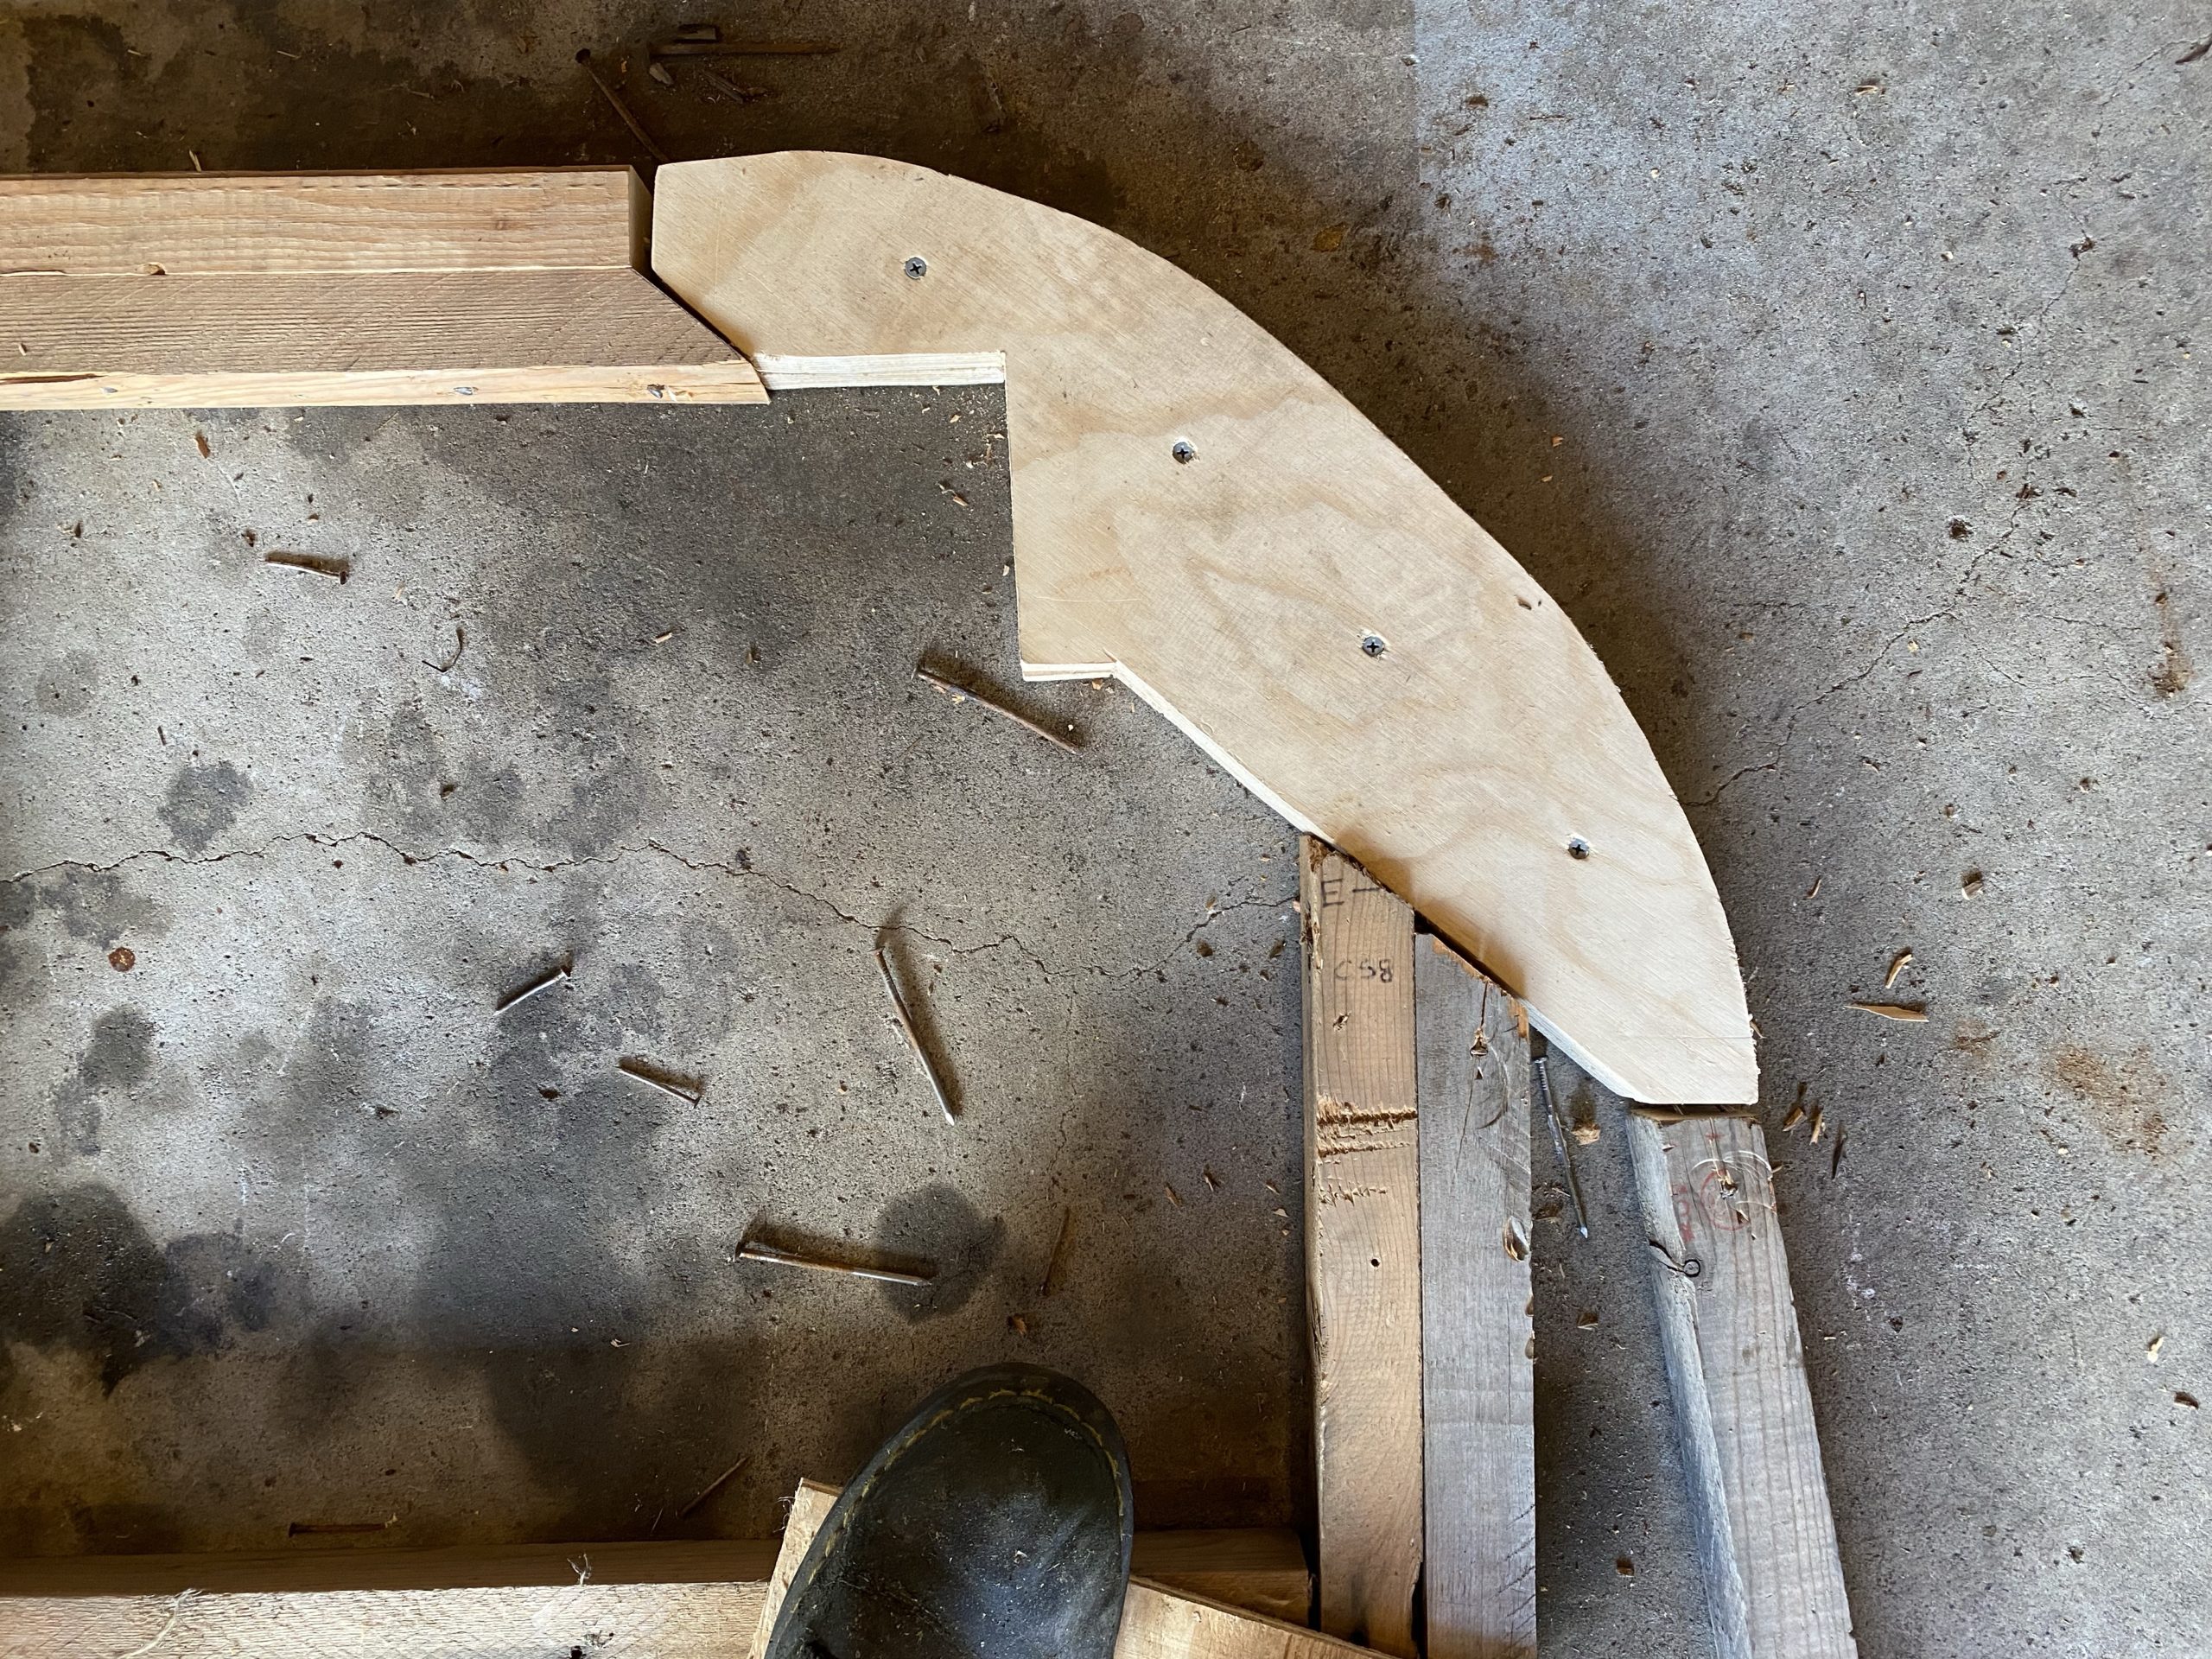
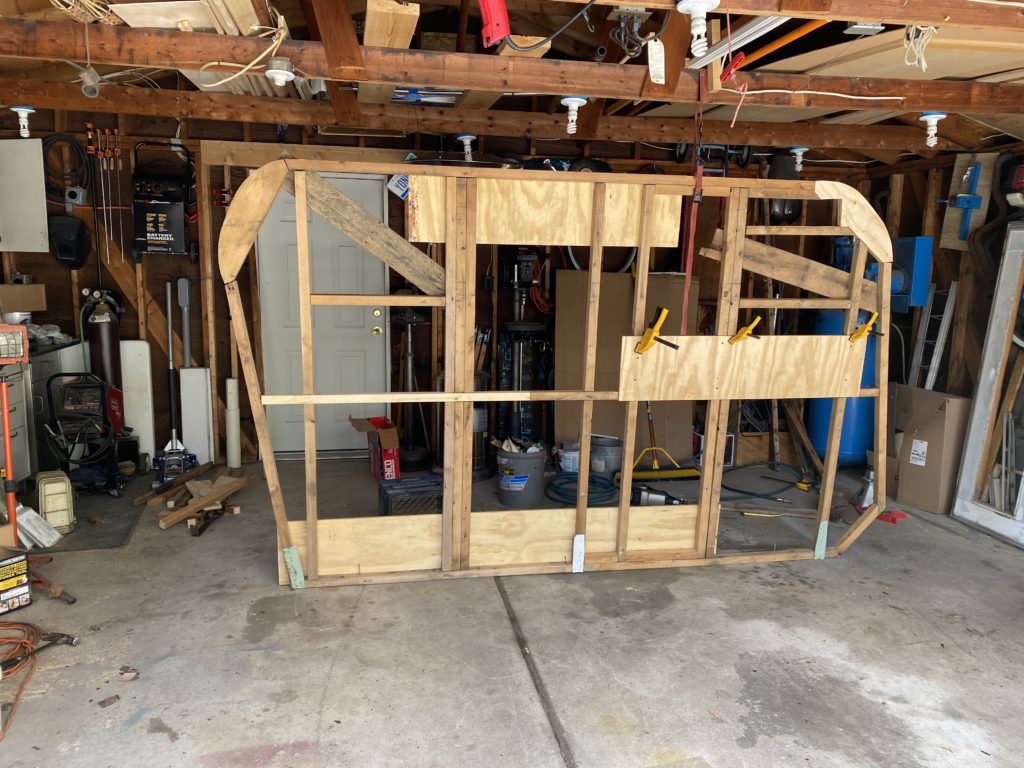
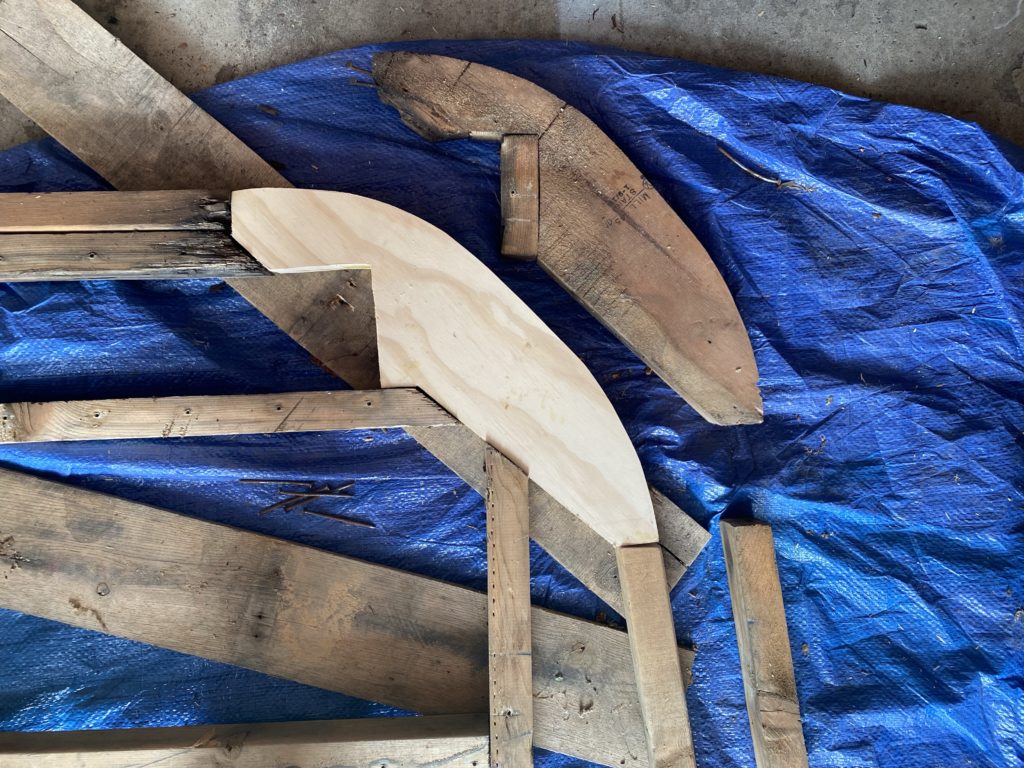
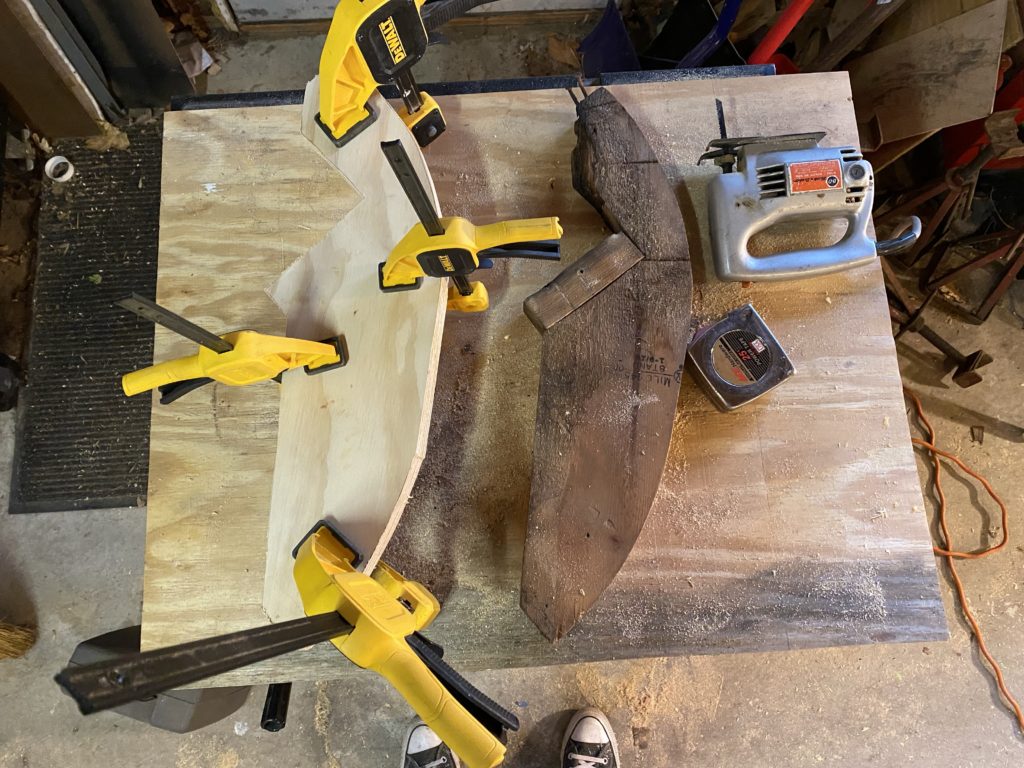
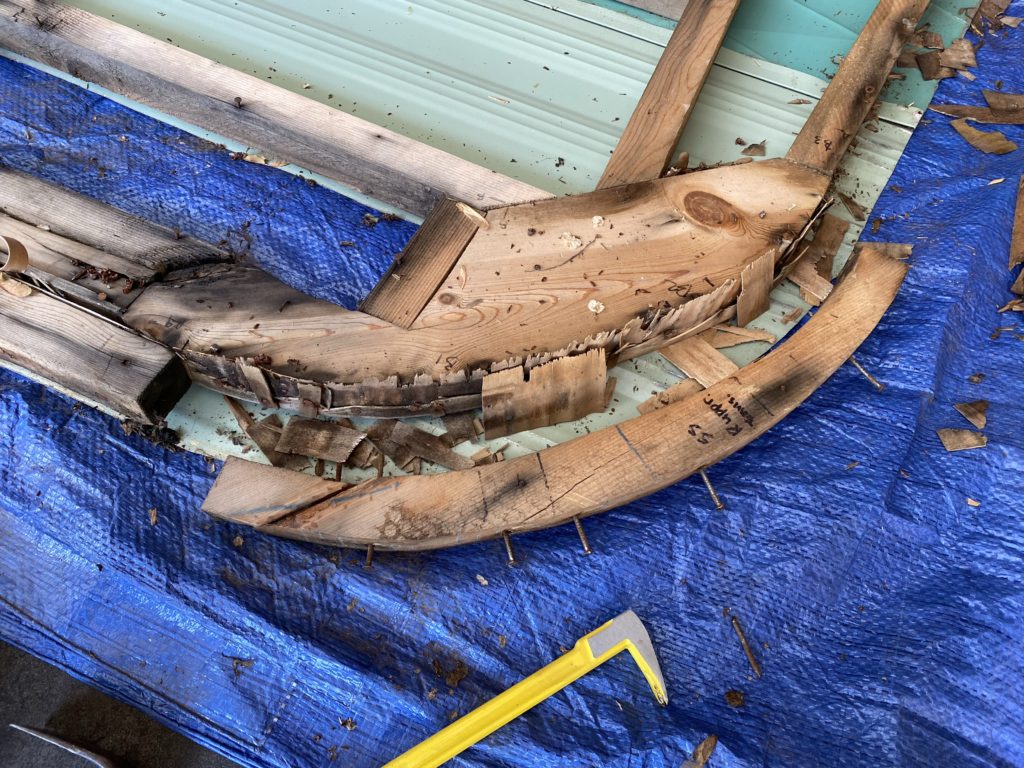
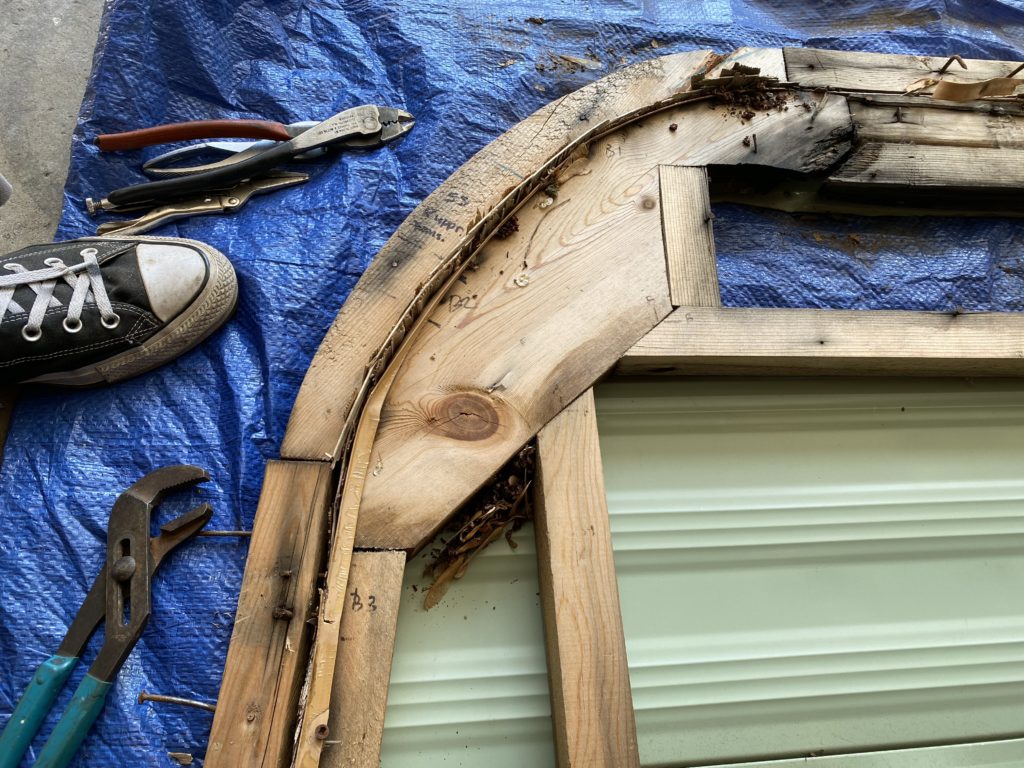
I decided to start from the middle and work up around the curve. I attached the cross beams as I went to hold it on. Things went pretty quickly until I reached the bend. If I had it to do over, I would have sprung for bendable plywood for this area.

Before I attached the roof or any of the walls, I covered the surfaces to be joined with “gimp.” Gimp looks like a larger, more rubbery version of the piping that’s used in upholstery. It covers up the seam, and also provides a soft surface between the panels which cuts down on binding and squeaking when you’re walking around inside.

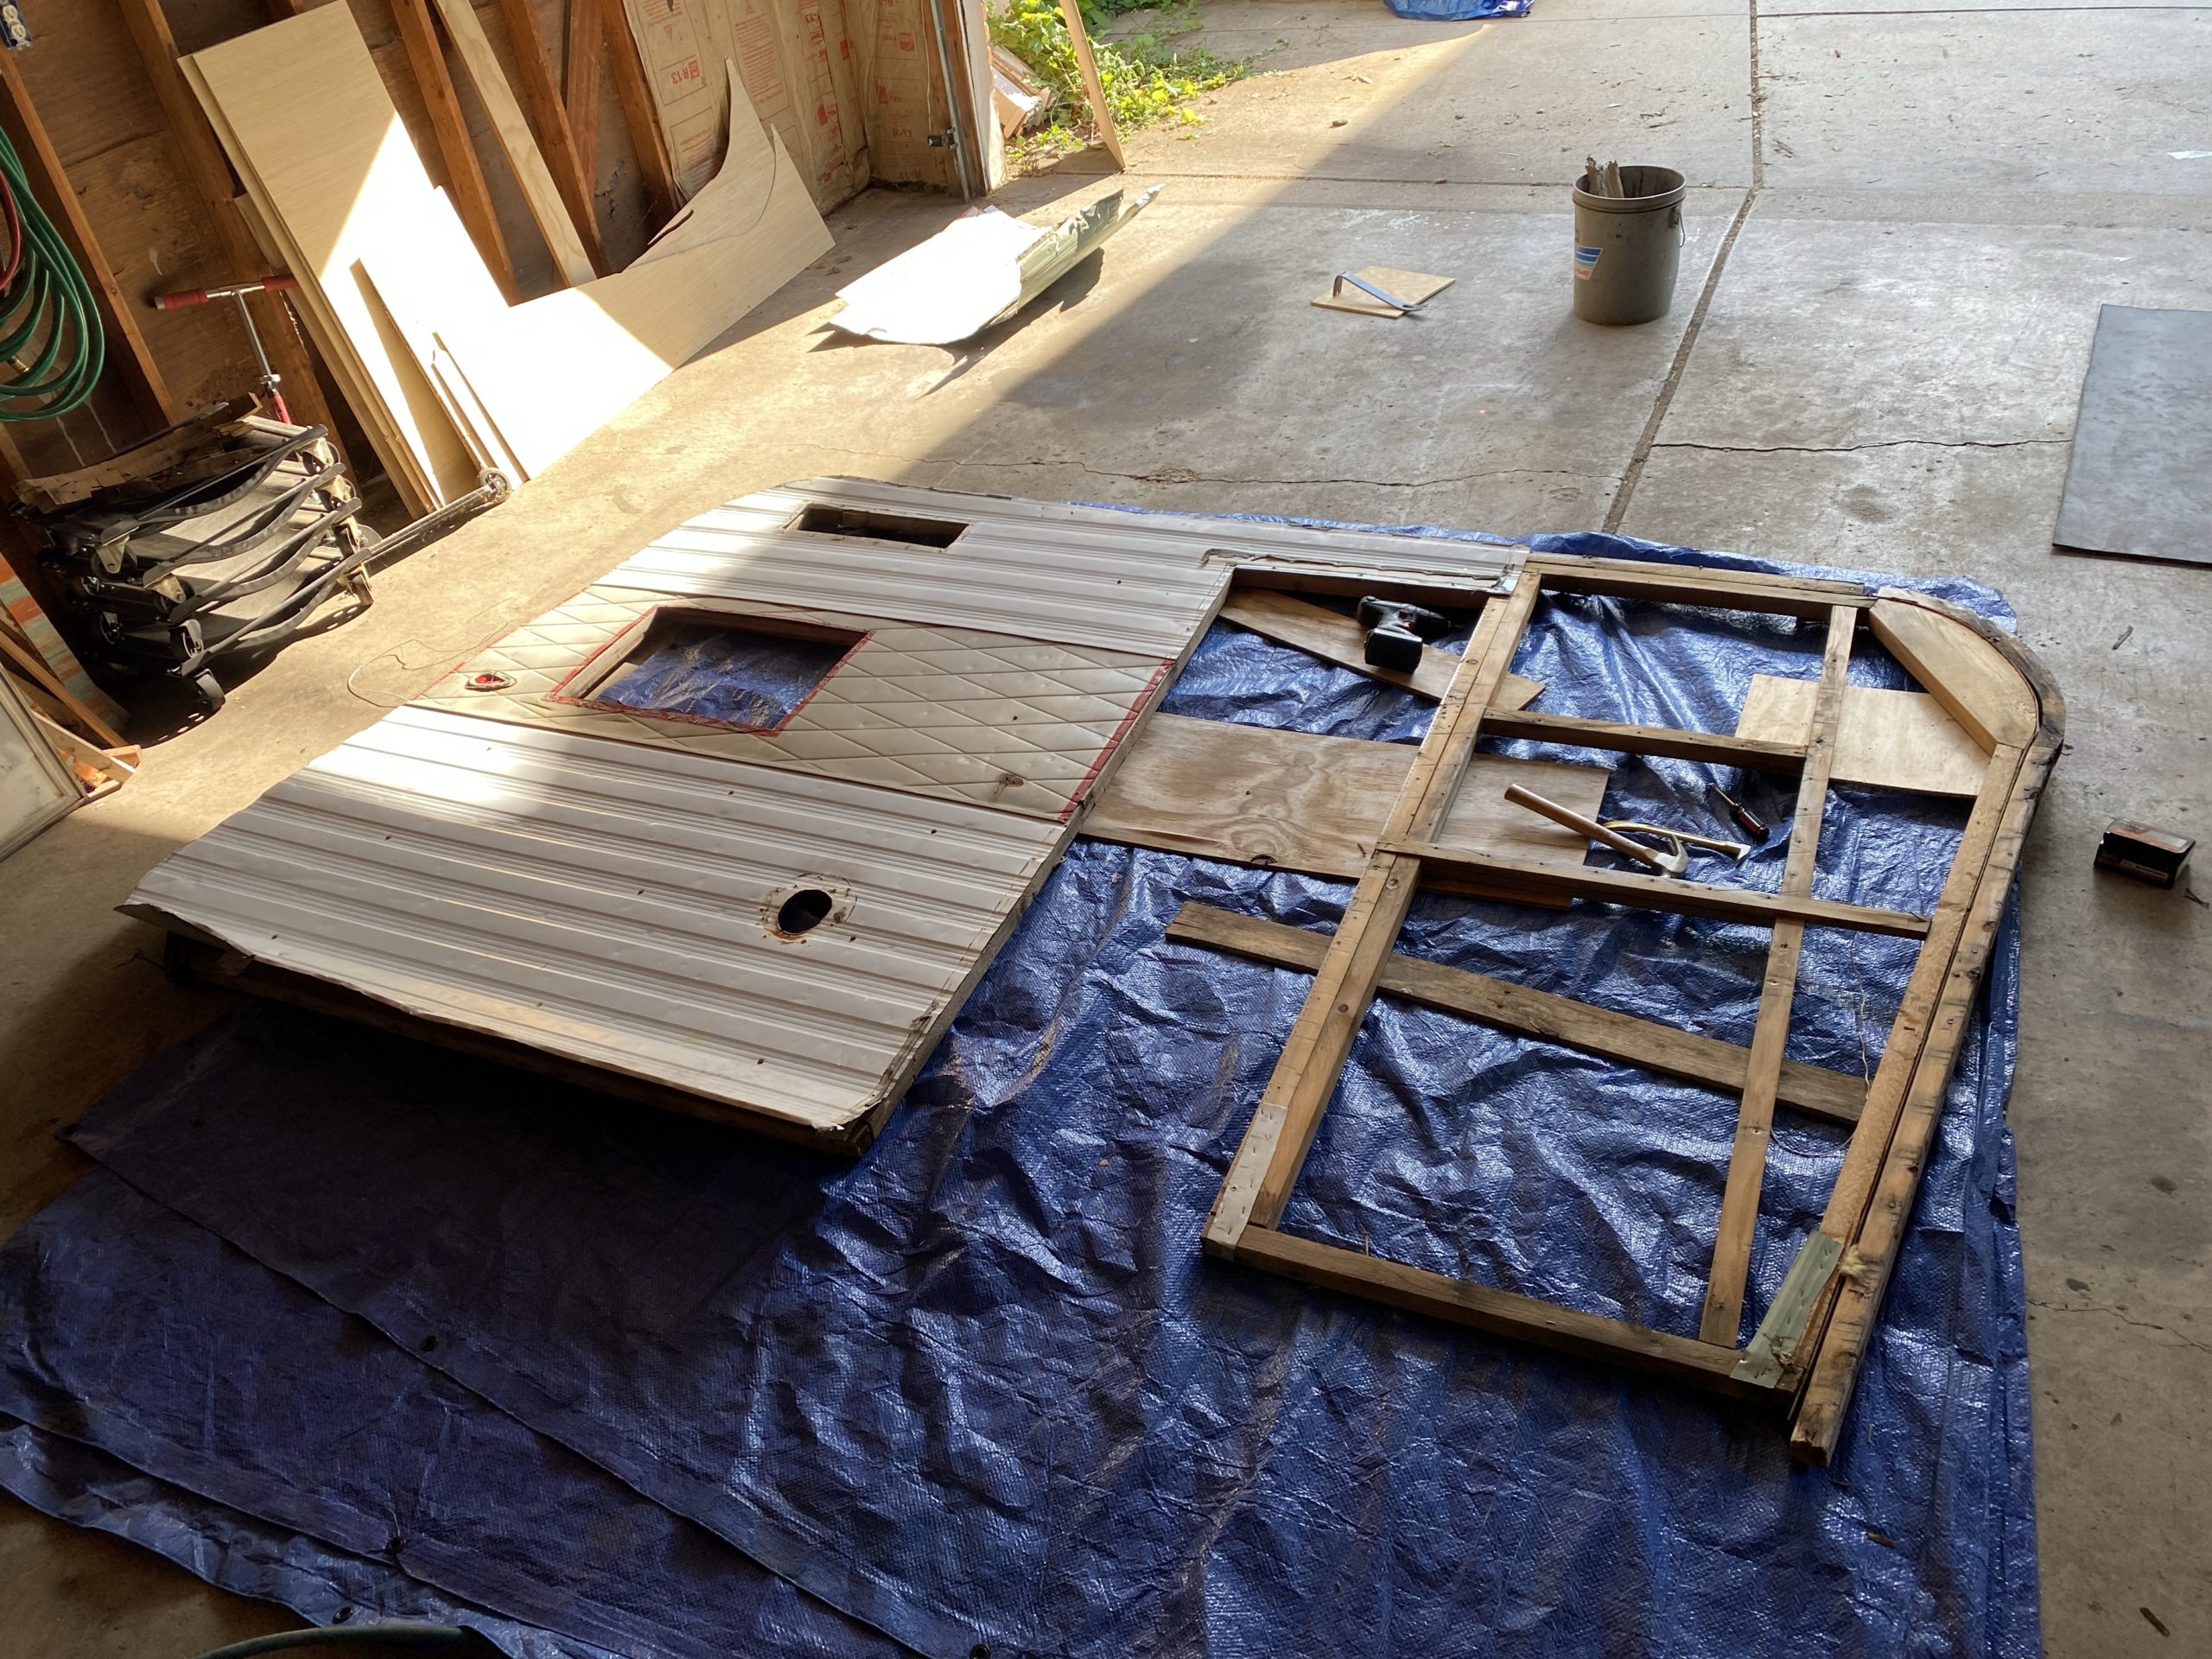
The luan – which I associate with a generally “floppy” consistency – was like spring steel. It fought me, it bucked me, it bowed, it went on crooked… it was as comical as it was infuriating. But finally I had the job done. Now I could start using the twisty nails to attach the panels to the cross beams.

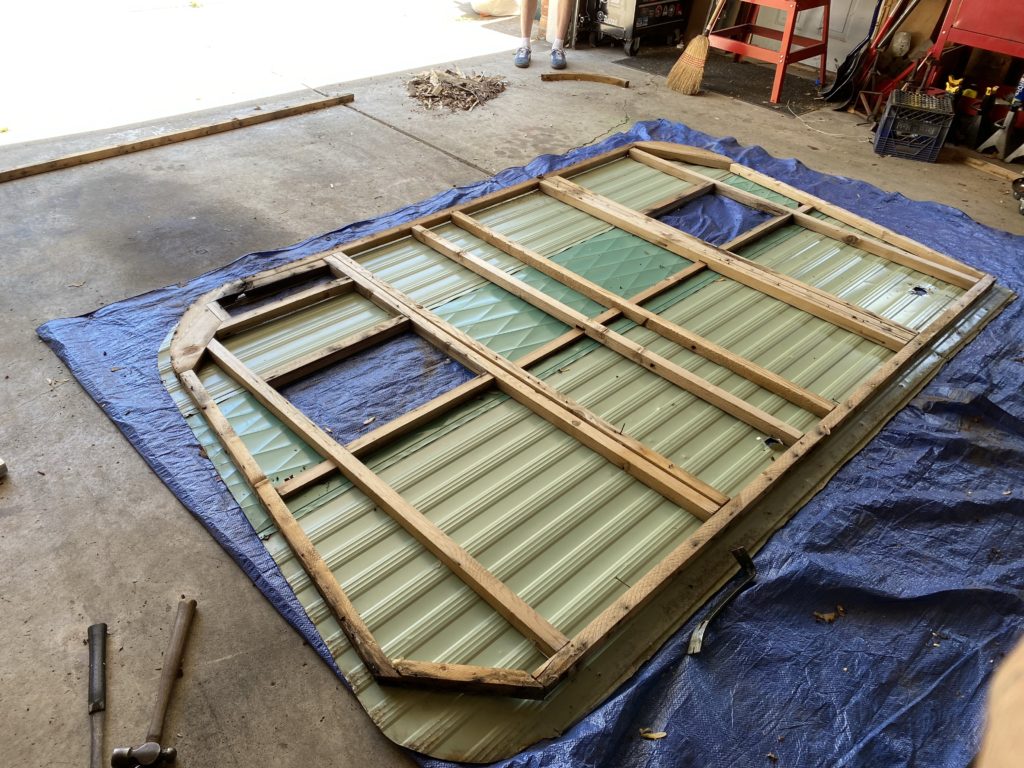
I snapped a chalk line on the inside and started nailing. About halfway across, the nails stopped hitting wood on the other side of the paneling. What??

Standing back from the trailer I could see that, after the first couple cross beams, I had somehow started nailing them on one inch higher on the curb side. Since I measured from the previous beam to find the location of the next beam, that offset carried all the way up the cross beams. They had to come off. It was a huge bummer, but it did allow me to re-visit the bend and improve it a little, so I guess there was some good that came from the experience.

I tacked the panel on to the cross pieces with twisty nails and admired my handiwork.

Filed Under: 65 Comanche Tagged With: 65 Comanche, build, design, interior

Resurget Cineribus

April 21, 2024 by marcnischan

The flag of Detroit, in addition to having about 7 flags worth of visual information on it, bears the city’s motto: “Speramus meliora; resurget cineribus.” The motto was given to the city by Gabriel Richards after the Great Fire of 1805 which wiped out the entire city in less than a day. The one building that was left standing was an old British fort.

Richards was a priest that fled France during the French Revolution in 1792, and eventually established churches, schools and libraries, and after the Great Fire he coordinated food relief efforts and was involved in the planning of the metropolitan layout that the city retains to this day. Before you get too attached to him, know that he also “ministered” to the indigenous people, an all-too-common initiative at the time for white settlers to erase indigenous cultures in the name of God. The irony does not escape me that the name of this very trailer, Comanche, is culturally appropriated. But I digress.

What is relevant about Richards to this story is the meaning of the motto – it translates from Latin to “We hope for better things; it will rise from the ashes.”

While the disassembled walls and cabinets languished in the corners of the garage, time passed. I sold the 64 Olds, bought a 63 BelAir wagon, got engaged, and was back to work full time. The tarped-off floor and frame sat in the driveway like some sort of hillbilly chrysalis, and the kids and the neighbors kept asking me when it was going to be finished.

Then I got married, and It occurred to me that there were three possible fates in store for the trailer now. One, I finish it. Two, I sell it as-is. Three, it goes to the dump when Kelly and I find a house. I tried selling it as a “great project that just needs finishing” and got one solitary nibble from a guy that, after seeing it in a hundred pieces, promptly turned around and left. So that leaves finishing it, or taking it to the dump. I guess I have to finish it then!

So, how do I protect it from the elements, but still have the space to work on it? I did some measuring and concluded that I could build it in the garage and then move it outside onto the frame when it was done. Once again I called up Pistol Pete and he leant me a hand removing the platform, constructing a frame to set it on, and setting the walls.

Filed Under: 65 Comanche Tagged With: 65 Comanche, build, floor, interior

A Series of Unfortunate Events

April 21, 2024 by marcnischan

Things looked so hopeful at the end of that last post, didn’t they? (Cue ominous background music)

It was fall and would soon be too coId to spread stain and work outside. The trailer was too tall to fit in the garage, so I had constructed a tarp cocoon to seal up the trailer for the winter. I was certain that I could pick up where I left off in the spring.

But it was an unusually rainy fall, and October in particular was just constant wind and rain. The pandemic was easing up and I was working more, and I had no time to work on the trailer. One weekend I decided to peek under the tarp and see how everything was faring. My heart sank to my heels when I saw what had happened to my masterpiece.

The constant rain had somehow made it through the tarp in a few places and warped my countertop. Even worse, I had mold spots starting in some of the places that had been consistently damp. It was a total setback. I was so discouraged. The only thing I could think of to save it was to take down the walls and cabinets and store them in the garage, tarp off the floor, and wait for better weather.

Filed Under: 65 Comanche Tagged With: 65 Comanche, build

Design & Build Pt. 6 – Curb Side Wall Repair and Skin

September 14, 2021 by marcnischan

This week I got a lot of work done on the street side wall, which was a major milestone. The weather is going to get colder soon and I have to think about securing the trailer for the winter, too. I’m trying to get as much work done as possible in the next coupe of months. 

Like the other wall, I braced the frame and then removed the aluminum skin and replaced the rotten wood. I made a laminated replacement piece for the rear radius on this side as well. Then, with the help of my lovely assistant Kelly, we skinned it and stained it, and made a wall that will have a cabinet attached to it. This wall is also a major support piece for the outer walls. 

Finally I made the frame for the roof, recreating it from the measurements that I took during the tear-down. Due to some bad math, a couple of the cross pieces are an inch off. I was so mad! I made such careful notes! I may be able to roll with it as I don’t think that it ultimately will effect the skin and panel adversely. The next steps will be to make any adjustments necessary, skin the roof or “key” area and permanently attach the walls and ceiling before finally building the cross ties for the front and back. I’m hoping to get all of that done before winter. Wish me luck!

Filed Under: 65 Comanche

Design & Build Pt. 5 – Rot repair and interior wall installation

June 2, 2021 by marcnischan


I had a couple of days near Memorial Day reserved to make some more progress on the trailer. The goal was to get the street-side wall repaired and installed. I mostly achieved that goal 🙂 My old buddy Pistol Pete came over to help me exhume the wall from behind my garage. Although I had put the walls up on blocks and tarped them well to withstand the winter, they had blown over several times in storms and spent a couple of months exposed to the elements so I wasn’t really sure what I’d find. Fortunately they were in the same shape I’d left them in, except for being covered in helicopters from the nearby trees.

The first task was to brace the frame of the wall so that it wouldn’t lose its shape when I pulled the sheet metal off.

The next task was to verrrrrry carefully remove the outer curbing without destroying the rotted wood which I needed for a pattern. I used a cat’s paw (looks like a flat bladed screwdriver but has a split and angled head for grabbing small nails) and a small “slim jim” to pull nails. You can see the slim jim in the gallery, it’s a yellow hand tool.

With the curbing removed, we flipped the wall over and removed the sheet metal. Then Pete had to leave. I needed to move the bracing to the other side of the wall since I would need to put the interior paneling on the inside of the wall. I stabilized the wall by hanging it from the rafters in the garage and flipped the braces. Then I layed the wall back down and one at a time fabricating new pieces for the wall. 

The 2x2s that they built this trailer with are 1 5/8″ square. Modern 2x2s are 1 1/2″ square. So I am reusing wood from the roof wrap wherever possible so that the sizes are consistent. I can then use all new wood for the roof and have it be a consistent 1 1/2″. Because of this it’s hard to see some of the repairs I made because the “new” parts are the same color as the existing frame. But I wound up replacing and sistering quite a few pieces. Along the way I drove a phillips screwdriver bit into my thumb when the drill slipped while I was sistering a repair on the footer. Ouch. I taped it up and kept working but it bled a lot and there is blood all over the wall now. I used two pieces of 3/4″ plywood to fabricate the radius pieces with an 1/8″ masonite sheet on top to make up for the gap (remember it’s all 1 5/8″).

With the rot repaired, I test-fit the wall and clamped it in place. I found out that, despite my to-the-inch drawings, I had mounted the kitchenette two inches farther forward than I should have. As a result, I had to sister another stud in so the mounts in the back of the kitchenette would have solid wood to anchor to.

I pulled the wall and put on the luan wall skin, and cut it to fit. Using a router, I went around the edge and removed the areas for the windows as well. I put two coats of Zinser amber stain on (needs three but I ran out). 

This was a huge milestone for me because now I can really start to see what it will look like when it’s fininshed, and also because I was getting really tired of looking at the walls just sitting behind the garage. It feels like this project finally has a little momentum! The next task will be to build the cabinet for the curb side and get it anchored. Then I can do this same treatment to the curb side wall. 


Filed Under: 65 Comanche

Design & Build Pt. 4 – The Kitchenette

March 6, 2021 by marcnischan


The kitchenette is a major structural element in the trailer. I built it out of three-quarter inch birch ply and poplar. It is cantilevered over the rear portion of the trailer a bit to allow for the bed to slide underneath it when extended.

Although I still have some finishing to do on it I decided to mount it so I could tarp up the trailer for the winter and make some space in the garage for the wagon. I will need to make the three drawers and the cabinet doors still, and of course shellac the whole thing. But it’s a milestone in the build because now I have the first support in place for the street side wall.


Filed Under: 65 Comanche Tagged With: 1965, 65 Comanche, build, cabinets, canned ham, interior, kitchenette, seats, toaster, trailer, vintage

  • Page 1
  • Page 2
  • Page 3
  • Go to Next Page »

Copyright © 2025 Marc Nischan

  • Facebook
  • Instagram